Vent Termination Rules
Vent termination is the final, critical stage of a DWV (Drain-Waste-Vent) system where the plumbing vent pipe exits the structure, typically through the roof. Its primary function is to safely exhaust sewer gases and equalize pressure without creating health hazards, property damage, or system failure. Improper termination is a leading cause of code violations and performance issues.
The Diagnosis: Common Vent Termination Failures
Failed vent termination manifests as slow drains, gurgling fixtures, sewer odors in living spaces, or frost closure in cold climates. The root cause is almost always a violation of established clearance and installation codes, which prevent air blockage, water ingress, and gas re-entry into the building.
Technical Deep Dive: Code-Compliant Installation
Correct installation is non-negotiable. Follow this procedural guide to ensure a durable, code-compliant termination.
Step 1: Roof Penetration and Flashing
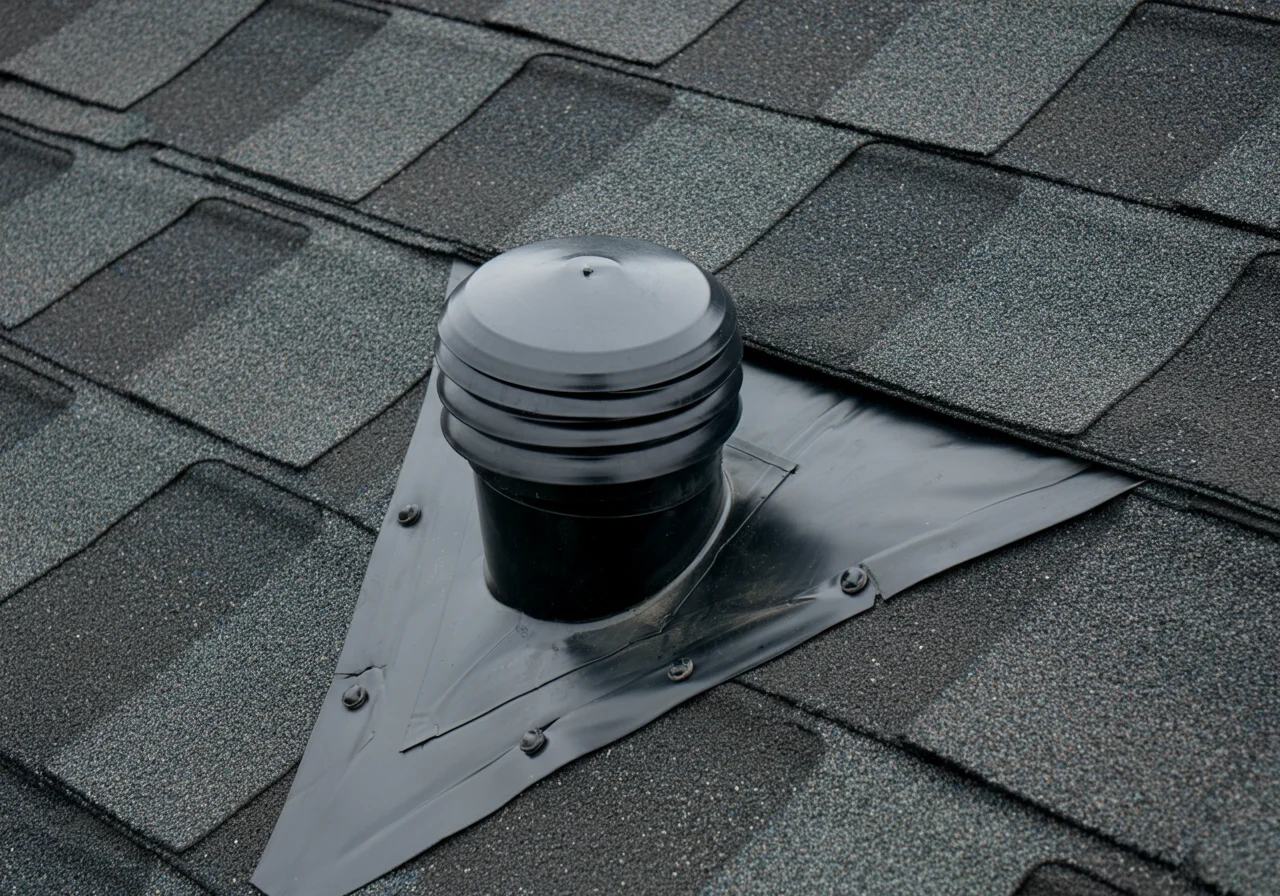
- Cutting the Hole: The roof hole must be precisely sized for the pipe and flashing. For a 3″ or 4″ pipe, use a hole saw 1/2″ larger than the pipe’s O.D. to allow for movement and flashing.
- Flashing Selection: Use a manufacturer-specific, pre-fabricated roof flashing boot (e.g., Ridgid or Oatey). For steep-pitch roofs, consider a lead or rubber flashing with a storm collar.
- Sealing: Apply roofing cement compatible with your roof material (asphalt, metal, tile) under the flashing’s flange. After sliding the boot over the pipe, secure it with roofing nails and seal all nail heads and the top edge of the flange.
Step 2: Pipe Extension and Securement
- Extend the vent pipe a minimum of 6 inches above the roof surface, as per most codes. In snowy regions, extend it above the anticipated snow line (see Frost Closure section).
- Secure the pipe with roof brackets or straps attached to the roof decking, not just the sheathing, to prevent wind shear.
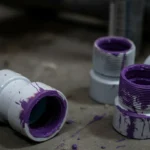
- Use appropriate solvent cement for PVC/ABS or soldered joints for copper. Ensure all joints below the roof line are fully supported.
Step 3: Terminal Fitting (Vent Cap)
- Always install a code-approved vent cap. A simple open pipe is prohibited.
- The cap must have a screened opening that prevents birds and rodents but does not readily clog with frost or debris. Mesh size should not exceed 1/4 inch.
- Secure the cap with the appropriate adhesive or mechanical fastener. Do not rely on friction fit.
Code & Compliance: Clearance Requirements
Adherence to model codes is mandatory for safety and function. The following table summarizes key clearance requirements from the International Plumbing Code (IPC) and Uniform Plumbing Code (UPC).
| Feature | IPC Minimum Clearance | UPC Minimum Clearance | Rationale |
|---|---|---|---|
| Vertical Height Above Roof | 6 inches | 6 inches | Prevents snow/rain ingress and provides adequate dispersion. |
| Roof Clearance from Vertical Surfaces (walls, parapets) | 10 feet horizontally if below vent opening | 12 inches above if within 10 feet | Prevents wind-induced downdrafts from forcing gases back into the structure. |
| Proximity to Windows, Doors, & Intakes | 10 feet horizontally from any air intake, openable window, or door. | 10 feet from ventilating openings, 5 feet from plumbing air inlets. | Prevents sewer gas from entering occupied spaces or ventilation systems. |
| Distance from Property Line | 10 feet (if venting flammable vapors) | As required by local ordinance | Limits nuisance and hazard to adjacent properties. |
Local Authority Note: Always consult your local amended code, as jurisdictions often have stricter requirements, especially for roof clearance in high-wind or heavy-snow regions.
Special Focus: Preventing Frost Closure
Frost closure occurs when moisture in the vent pipe condenses and freezes at the terminal, completely blocking the vent. This causes immediate drainage failure and potential trap siphoning.
- Increased Height: In climate zones with significant snowfall, extend the vent a minimum of 12 inches above the roof surface, and more importantly, extend it higher than the local average snow depth for the roof.
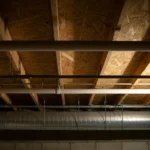
- Insulation: Insulate the vent pipe in the unconditioned attic space down to where it connects to the warm stack. This prevents warm, moist air from rising and condensing in the cold terminal section.
- Larger Diameter: Upsizing the vent terminal from 1.5″ to 2″ or 3″ provides more cross-sectional area, making it harder for frost to fully occlude the opening.
- Specialized Caps: Consider frost-resistant vent caps with larger, lower-profile screened openings designed to minimize ice buildup.
Toolbox: Essential Gear for the Job
- Cutting/Measurement: A Milwaukee M12 Fuel™ Hole Hawg with a carbide-tipped hole saw is ideal for clean roof penetrations. Use a laser level or long spirit level to ensure vertical plumb.
- Sealing & Fastening: High-quality roofing cement, a caulking gun, and stainless steel roofing nails or screws. A torque-controlled driver ensures consistent fastener seating without damaging flashing.
- Safety & Inspection: Full fall-arrest PPE (harness, lanyard, anchor), roof jacks for steep pitches, and a Fluke thermal imager can help identify heat loss and potential condensation points in the attic.
Safety Warning
ROOF WORK IS INHERENTLY DANGEROUS. Always use OSHA-compliant fall protection. Be aware of overhead power lines when handling long pipes. Check for live wiring or ductwork before cutting into the roof deck. Work in dry conditions to prevent slips and ensure proper sealant adhesion.
External Reference
For the definitive technical specifications on pipe materials, jointing, and installation, always refer to the manufacturer’s installation instructions. Additionally, the International Code Council’s page on the IPC provides the complete code text and commentary, which is essential for understanding the intent behind vent termination rules.