Island Fixture Venting
The Diagnosis: Venting a Fixture in the Middle of the Room
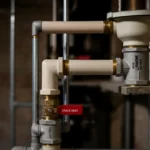
Island fixture venting is the specialized plumbing method required to properly vent a sink, dishwasher, or other fixture located in a kitchen island, peninsula, or any location where a traditional vertical vent stack running up a wall is impossible. Without this, the fixture will drain sluggishly, siphon its P-trap seal (causing sewer gas intrusion), and violate all major plumbing codes. The core challenge is creating a vent connection that rises to the necessary height before ultimately tying back into the main vent system, most commonly achieved through the “Chicago Loop” or a variation known as a “Foot Vent.”
Technical Deep Dive: Constructing a Code-Compliant Island Vent
The principle is to create a vent loop that rises from the drain, peaks well above the fixture’s flood rim, and then falls to connect to a vent pipe beneath the floor. This configuration prevents waste from entering the vent branch while allowing air to enter the drain. Here is the step-by-step process for the standard Chicago Loop method.
Step-by-Step Installation of a Chicago Loop Vent
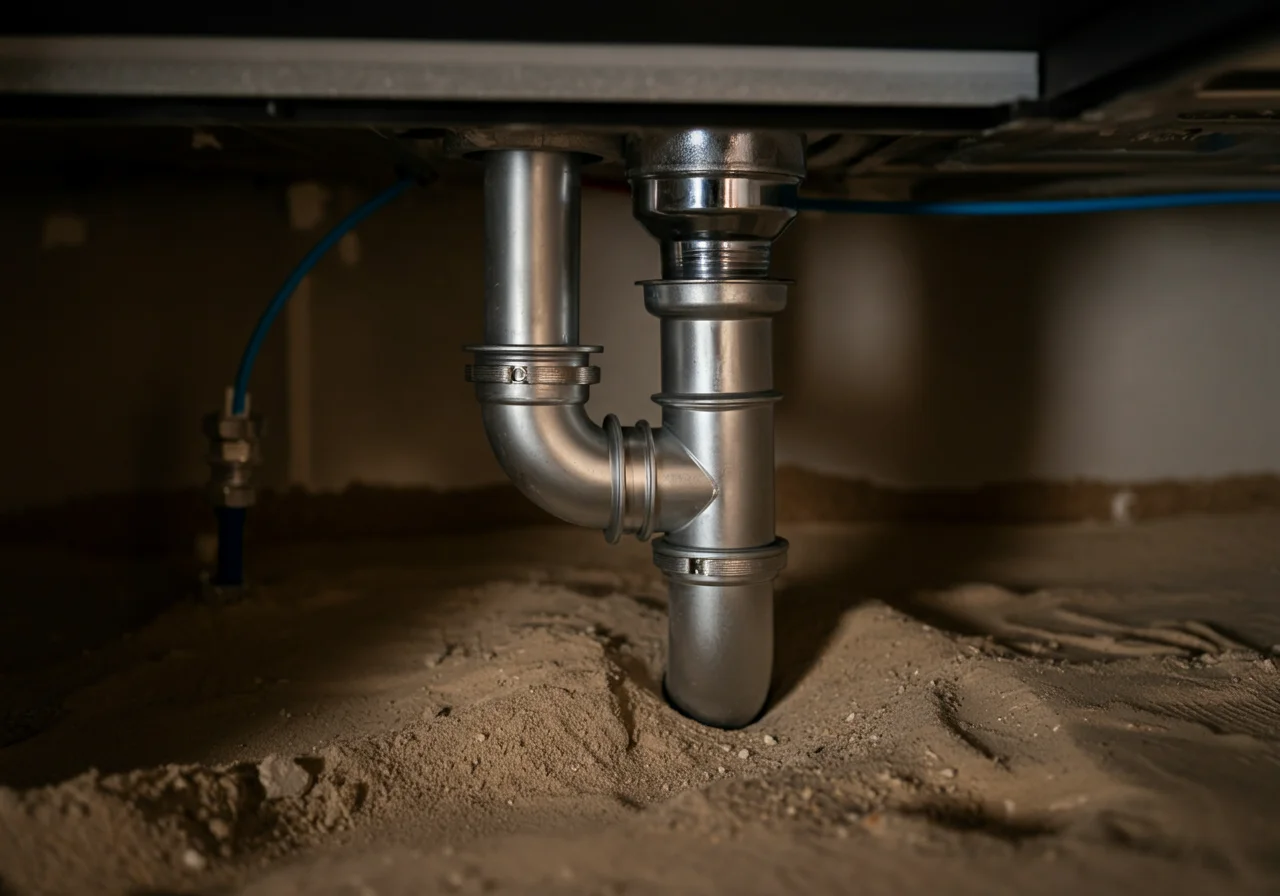
- 1. Plan and Measure: Determine the exact location of the island drain and the point where the vent connection will drop through the floor to meet the main vent stack. The loop must be accessible, typically within the island cabinetry.
- 2. Install the Drain and Trap: Connect the fixture tailpiece to the P-trap. The trap arm (the horizontal pipe from the trap outlet to the first vertical drain connection) cannot exceed the maximum allowable distance per code (typically 42″ for a 1-1/2″ pipe at 1/4″ per foot slope). This is critical.
- 3. Begin the Vertical Rise: Immediately after the trap arm, use a 90-degree long-turn elbow (not a sharp vent elbow) to direct the flow upward. This begins the “up-leg” of the loop.
- 4. Reach the Required Height: Extend this vertical pipe to a point at least 6 inches above the fixture’s flood rim level (the top of the sink bowl). For a typical 36″ counter, this is approximately 42″ from the floor.
- 5. Create the Loop’s Peak: At the peak height, use another long-turn 90 to direct the pipe horizontally. This horizontal section at the top must be at least 6 inches long before descending.
- 6. Begin the Down-Leg: After the horizontal section, use a third long-turn 90 to direct the pipe downward. This “down-leg” will connect to the vent take-off.
- 7. Connect to the Vent: Before the down-leg reaches the level of the trap arm, use a sanitary tee (or a combination wye and 1/8 bend) to provide a vent take-off. This fitting must be installed in the vertical position. The downward flow continues to the main drain, while the vent branch runs horizontally (with slope back to the drain) to eventually tie into a main vent stack.
Safety Warning: All work must be performed with the main water supply shut off and any affected drainage systems isolated. When soldering copper, have a fire extinguisher present and work in a well-ventilated area. Always verify local amendments to national codes.
Alternative Method: The Foot Vent (Island Sink Vent)
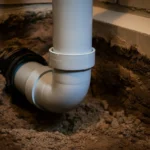
A “Foot Vent” is a less common but code-recognized alternative, functioning more like a traditional vent configuration turned on its side. Instead of a loop rising in the cabinet, the vent connection is made downstream of the island fixture’s drain connection.
- The island sink drain drops through the floor normally.
- Beneath the floor, a sanitary tee is installed in the horizontal drain line. One inlet receives the sink drain, the other inlet receives the vent pipe.
- The vent pipe immediately rises vertically (as a “foot”) to a height above the flood rim before continuing horizontally to the main vent stack.
- This method is often easier to construct but requires more space and access beneath the floor joists.
Code & Compliance: The Non-Negotiable Rules
Island venting is strictly governed by plumbing codes to ensure safety and function. The following table outlines key requirements from the International Plumbing Code (IPC) and Uniform Plumbing Code (UPC). Always consult your local jurisdiction, as it has final authority.
| Code Aspect | IPC Requirement | UPC Requirement | Practical Application |
|---|---|---|---|
| Loop Height | Must rise to at least the level of the fixture flood rim. | Must rise at least 6 inches above the fixture flood rim. | For certainty, install the loop peak a minimum of 6″ above the flood rim. This satisfies both. |
| Trap Arm Length | Maximum distance from trap weir to vent is a function of pipe diameter and slope (e.g., 1-1/2″ pipe at 1/4″ per foot slope = 42″). | Same principle as IPC, with slightly different calculated lengths. For a 1-1/2″ trap, the maximum is typically 42″. | Use a 1-1/2″ or 2″ drain and keep the horizontal trap arm as short as possible. Measure from the trap outlet to the center of the vent take-off on the down-leg. |
| Fittings | Requires drainage pattern fittings (long-turn 90s, sanitary tees) to direct flow. No sharp, vent-type elbows on horizontal to vertical transitions carrying waste. | Effectively identical. Prohibits the use of sharp bends (90-degree vents) in drainage sections. | Use long-turn 90s (sweep 90s) for all 90-degree changes of direction in the drain flow. Use a sanitary tee for the vent take-off on the down-leg. |
| Vertical Drop Connection | The vent connection must be made on the vertical down-leg, before it reaches the level of the trap arm. | Mandates that the vent must connect at a point not less than 6 inches above the trap arm. | Install your vent take-off fitting while the down-leg is still well above the trap arm elevation. This is critical to prevent waste from entering the vent. |
Toolbox: Essential Gear for the Job
Using professional-grade tools ensures precise, leak-free results. For this job, you’ll need:
- Cutting & Deburring: A quality tubing cutter (like Ridgid) for clean, square cuts on copper or plastic pipe. Always follow with a deburring tool.
- Measurement & Leveling: A 48″ level and a laser level are indispensable for establishing the correct slope on horizontal pipes and ensuring the loop’s peak is truly above flood rim height.
- Assembly: For solvent-weld PVC/ABS, use the correct primer and cement. For copper, a pro-grade propane or MAPP gas torch (TurboTorch) and lead-free solder.
- Inspection: A Fluke multimeter is not for plumbing, but highlights the need for task-specific tools. Instead, a high-quality test ball or plug for performing the mandatory final air or water test on the DWV system is essential.
External References for Authority
For definitive technical specifications and safety guidelines, always refer to primary sources. The official code books are the ultimate authority, but manufacturer instructions are also critical.
- International Association of Plumbing and Mechanical Officials (IAPMO): The publishers of the Uniform Plumbing Code (UPC). Their website offers code development information and resources. Visit IAPMO
- Charlotte Pipe – PVC DWV System Installation Guide: An excellent, detailed resource from a major manufacturer on proper solvent-weld techniques, support spacing, and fitting usage for drain-waste-vent systems. This directly applies to constructing a loop vent with PVC. Download the PDF Guide