Shower Pan Test Steps
The Diagnosis: The Mandatory Shower Pan Test
A Shower Pan Test is a non-negotiable, code-required procedure to verify the watertight integrity of a shower pan liner or membrane before any tile or finish materials are installed. This standing water test confirms that the primary waterproofing layer will contain all water within the shower basin, preventing catastrophic leaks into subfloors, walls, and structural components. Failure to perform this test is a leading cause of residential water damage and mold remediation projects.
Technical Deep Dive: Step-by-Step Procedure
This procedure assumes a traditional mortar (deck mud) bed with a PVC or CPE liner, the most common system requiring a flood test. For surface-applied membranes, consult the manufacturer’s specific test instructions.
Phase 1: Pre-Test Liner Inspection
Before adding water, a thorough visual and tactile inspection is critical.
- Clean the Liner: Remove all debris, mortar droppings, and dust. A small piece of gravel can puncture the liner under pressure.
- Check Seams & Welds: For PVC/CPE liners, all seams must be hot-welded with manufacturer-approved solvent. Visually inspect for gaps or inconsistencies. Ensure the factory seam at the drain is intact.
- Verify Drain Connection: The liner must be securely clamped into the drain assembly’s clamping ring. The liner should not be stretched taut; it needs slack to form the pre-slope.
- Inspect Penetrations: Check all pipe penetrations (shower valve, arm) and curb corners. Sealant must be applied per code and manufacturer specs—typically a plastic or PVC sealant for compatibility.
- Confirm Slope: The pre-slope beneath the liner must have a minimum slope of 1/4″ per foot toward the drain. A warped or flat pre-slope will trap water and fail the test.
Phase 2: Performing the Standing Water Test
Safety Warning: Ensure the water supply to the home is stable and you have a method to quickly drain the pan if a catastrophic failure is detected. Have towels and a wet/dry vacuum ready.
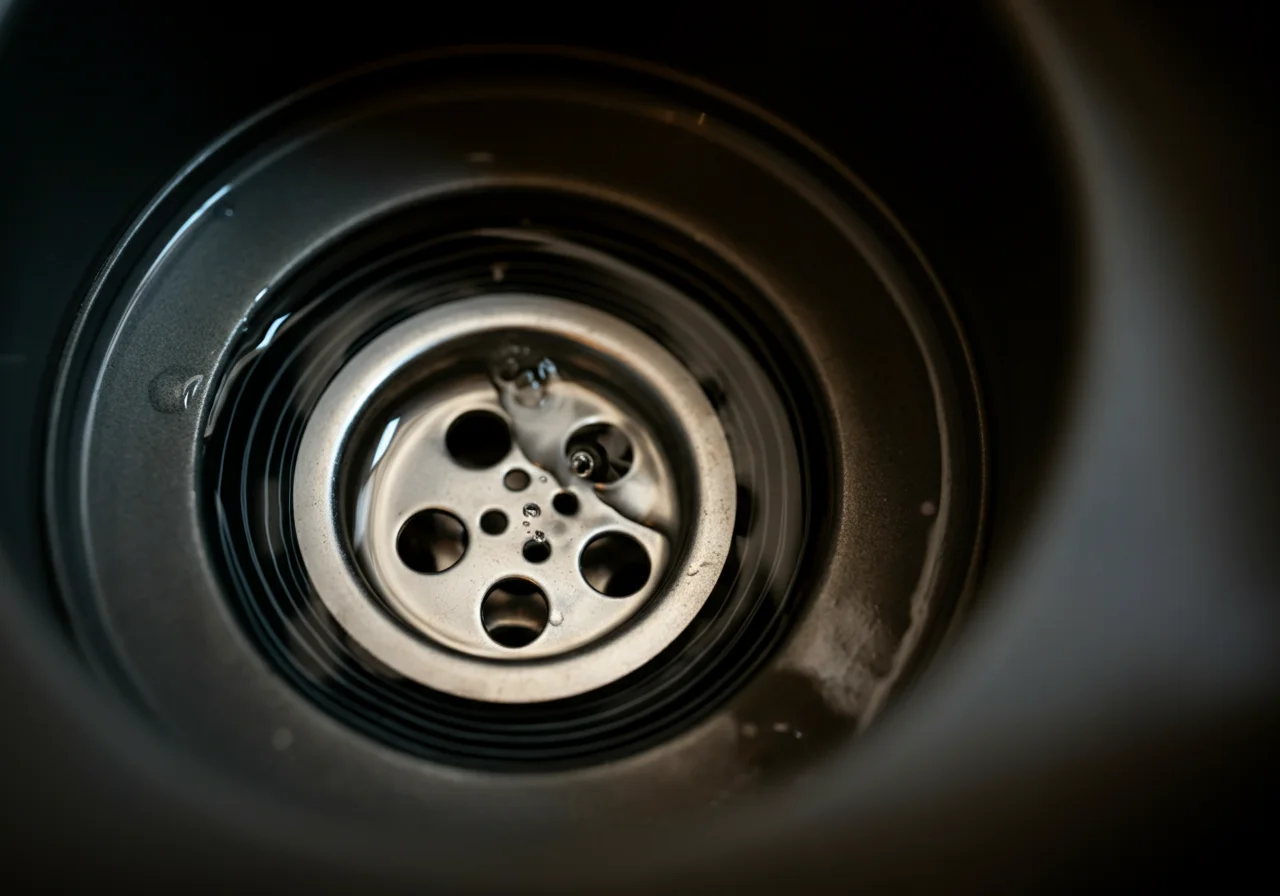
- Step 1: Seal the Drain. For a 3-piece clamping drain, insert a test ball or a specially designed inflatable drain plug into the drain pipe below the weep holes. Inflate it to form a tight seal. For other drains, use a water-tight expandable plug. The seal must be below the weep holes to test the liner, not the drain pipe.
- Step 2: Mark the Water Level. Using a permanent marker, mark a reference line on the wall or a stake placed inside the pan at a point 2 inches above the drain’s weep holes (or at the height of the curb, whichever is less, per code). This is your official test water depth.
- Step 3: Fill the Pan. Slowly fill the shower pan with water to the marked line. Use a hose or buckets. Avoid dumping water directly onto seams or seals.
- Step 4: Mark and Wait. Once filled, make a second mark at the exact water level on the wall or stake. This accounts for potential evaporation. The mandatory test duration is 24 hours per plumbing code.
- Step 5: Monitor and Document. Check the water level at the 12-hour and 24-hour marks. The level must not drop more than 1/8 inch, accounting for evaporation. Simultaneously, inspect the ceiling and walls directly below the shower for any signs of moisture or dripping.
Phase 3: Leak Detection & Troubleshooting
If the water level drops beyond the allowable amount, you must systematically locate the leak.
- Check Below First: Inspect the area beneath the shower. A wet spot directly below the drain indicates a failed seal at the drain clamp or test plug.
- Inspect Perimeter: Water at the base of adjacent walls indicates a failure at the liner’s corner folds, curb, or where it meets the backing material.
- Dye Test (Advanced): For elusive leaks, add a dark, non-staining food coloring to the test water. The colored water will often leave a visible trail at the point of failure.
- Repair Protocol: All leaks require complete draining and drying of the liner. Punctures or seam failures must be patched with a section of the same liner material and manufacturer-approved solvent or sealant, extending at least 3 inches beyond the damage in all directions.
Code & Compliance
Adherence to plumbing code is not optional; it is the legal standard of care for professional installation.
- International Plumbing Code (IPC) P2709.1 / Uniform Plumbing Code (UPC) 417.3: “The completed liner shall be tested by filling it with water to a level not less than 2 inches (51 mm) above the threshold at the drain outlet. The water shall be retained for a period of not less than 24 hours. Any leakage shall constitute a failure of the test.”
- Critical Interpretation: The “threshold” is the top of the finished curb. The test verifies the liner, not the weep holes, which is why the seal must be placed below them.
- OSHA Considerations: When working on active construction sites, ensure the test area is cordoned off or clearly marked with signage to prevent trip/fall hazards from the water-filled pan.
Toolbox
Using reliable, job-specific tools ensures accuracy and prevents test failures due to equipment error.
| Tool | Purpose | Example Quality Brand |
|---|---|---|
| Inflatable Test Ball/Drain Plug | Creates a watertight seal in the drain pipe below weep holes. | Ridgid |
| Laser Level or Line Level | To accurately set and measure the 2-inch water depth mark. | Milwaukee |
| Wet/Dry Vacuum | For rapid draining of the pan after test or in case of failure. | Milwaukee or Ridgid |
| Non-Staining Food Coloring | For dye-testing to trace difficult leaks. | Generic (Dark Blue or Red) |
External Reference
For the definitive standard on shower receptor construction and testing, professionals should reference the official code language. The International Code Council (ICC) provides access to the complete International Plumbing Code, which forms the basis for most local regulations.
ICC Digital Codes: IPC Chapter 27 – Tubs and Showers
Final Professional Note: A passed shower pan test is your only objective proof of a watertight installation prior to closing up the system. Document the test with photos showing the water level marks at the beginning and end. This protects you and provides the homeowner with verification that the installation meets code. Never proceed to mortar bed or tile installation on a pan that has failed this test.