Purple Primer Rules
The Diagnosis: The Mandatory Mark of a Proper Joint
In professional plumbing, the visible presence of purple primer is not a suggestion—it’s a non-negotiable code requirement for a successful, inspected solvent-weld joint on PVC and CPVC pipe. The Purple Primer Rules exist to provide a verifiable, visual indicator that the critical first step of the solvent welding process was performed correctly, ensuring joint integrity and system safety. Failure to leave this visible mark is a primary reason for inspection failure on drain, waste, vent (DWV), and water distribution systems.
Technical Deep Dive: The Science and Procedure of Solvent Welding
A solvent-weld joint is a chemical fusion, not just a glue bond. The purple primer (clear primer is also code-compliant but lacks the visual indicator) is a chemical cleaner and softener. Its purpose is twofold: to remove the glossy, oxidized layer on the pipe and fitting, and to soften the top layers of plastic to prepare them for the cement’s solvent action.
Step-by-Step Code-Compliant Procedure
- Step 1: Dry Fit & Deburring. Assemble the joint dry to ensure proper fit. Use a deburring tool or fine sandpaper to remove all internal and external burrs from the pipe end. A burr can create a channel for leaks.
- Step 2: Cleaning. Wipe the pipe socket and fitting with a clean, dry rag to remove dust and moisture. Joint surfaces must be clean and dry.
- Step 3: Application of Purple Primer. Using a natural bristle brush of appropriate size (typically 1/2″ to 1″ for common pipe sizes):
- Apply a generous, even coat of purple primer to the outside of the pipe end to the depth of the fitting socket.
- Apply primer to the inside of the fitting socket.
- The primer must remain wet and visible. A single pass is insufficient; ensure full, complete coverage.
- Step 4: Immediate Application of Solvent Cement. While the primer is still wet, apply a medium coat of the appropriate solvent cement (PVC cement for PVC, CPVC cement for CPVC) to the primed pipe end. Apply a lighter coat to the inside of the primed fitting socket.
- Step 5: Assembly & Quarter-Turn. Immediately insert the pipe into the fitting with a slight twisting motion (not more than 1/4 turn) until it bottoms out. Hold the joint firmly for 10-15 seconds to prevent push-out.
- Step 6: The Visual Verification. A continuous, visible band of purple must be evident around the entire joint where the pipe enters the fitting. This is your proof of priming.
Code & Compliance: The Legal Backbone
The requirement for primer is explicitly stated in the major model plumbing codes adopted across the USA. Inspectors look for the purple (or clear) primer ring as the first visual check of workmanship.
| Code | Section | Requirement |
|---|---|---|
| International Plumbing Code (IPC) | Sec. 705.5.1 | “Joint surfaces shall be clean and free from moisture. A primer that conforms to ASTM F 656 shall be applied… Solvent cement that conforms to ASTM D 2564, F 493, or F 484 shall be applied to all joint surfaces.” |
| Uniform Plumbing Code (UPC) | Sec. 609.3 | “All joint surfaces shall be cleaned with a clean dry cloth. A primer… shall be applied… The primer shall be applied to the socket and the spigot and shall remain wet until application of the cement.” |
Key Takeaway: The code mandates the use of primer. The purple dye is an industry-accepted method to prove compliance. Using clear primer is technically code-compliant, but it removes the visual verification for the installer and inspector, making the joint’s preparation unverifiable after the fact.
Where is Purple Primer Absolutely Required?
- All PVC and CPVC DWV (Drain, Waste, Vent) joints under the plumbing code.
- All CPVC hot and cold water distribution joints. CPVC cement requires primer for a proper chemical weld on pressurized systems.
- Schedule 40 & Schedule 80 PVC pressure pipe joints for water service, irrigation, or other pressurized applications.
Common Misconception: Some “all-in-one” or “one-step” cements claim not to require primer. Their code compliance is highly dependent on local jurisdiction adoption and specific product approvals. In a professional, inspectable setting, using a separate, code-listed primer is the only guaranteed path to approval.
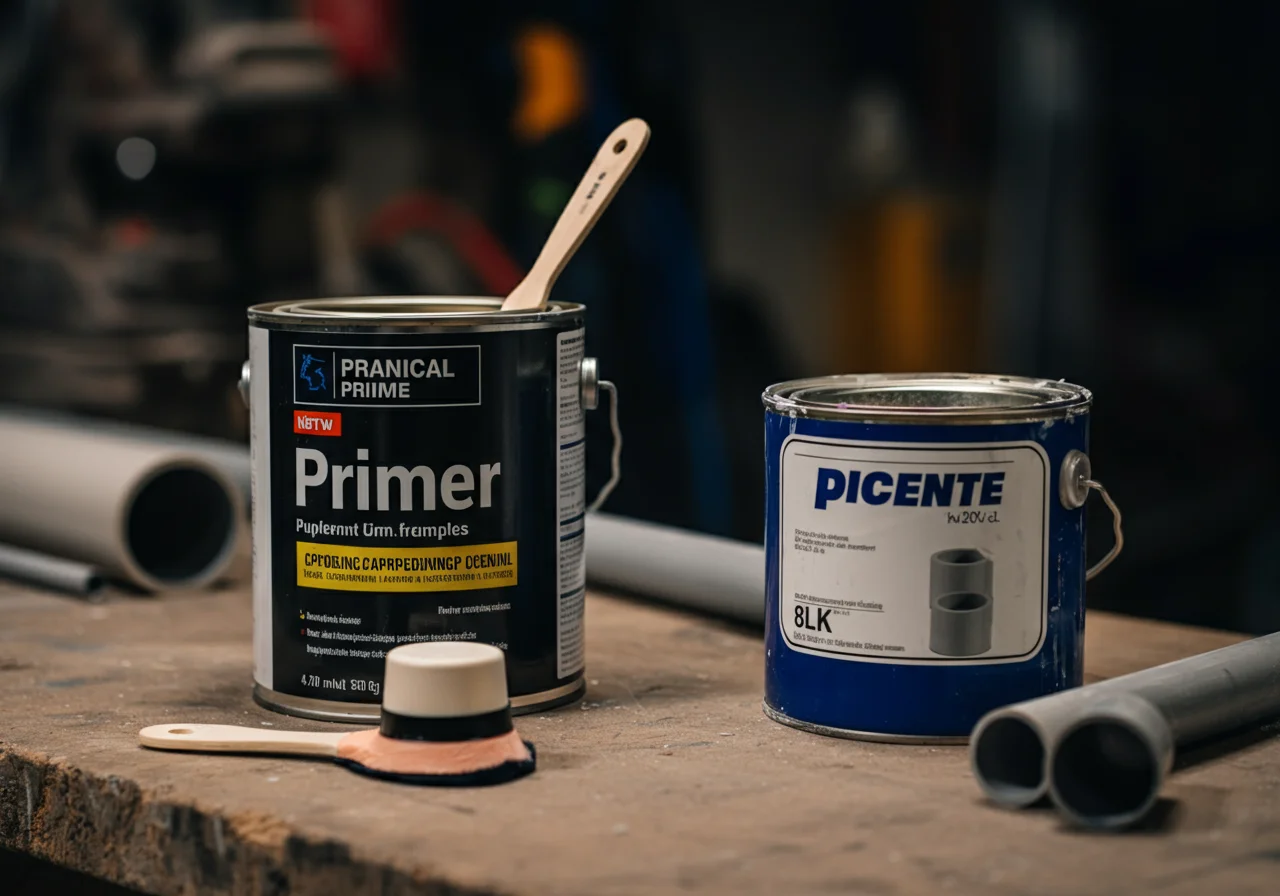
Toolbox: Quality Application Tools
The right tool ensures even application. Use natural bristle brushes (synthetic bristles can dissolve). For efficiency, use brush kits that attach directly to primer and cement cans. Quality tool brands like Ridgid offer durable, purpose-built solvent weld brushes and applicators. A clean, lint-free rag is equally essential for the initial cleaning step.
Safety Warning & Best Practices
WARNING: Solvent primers and cements are highly flammable and emit strong fumes. Use only in well-ventilated areas. Avoid all sources of ignition. Wear chemical-resistant gloves (nitrile) and safety glasses. Skin contact should be avoided.
- Temperature Matters: Solvent welding should be performed in temperatures between 40°F and 110°F for optimal cure.
- Set Time vs. Cure Time: Joints are set in minutes but require several hours to cure for pressure. Follow the manufacturer’s instructions for full cure before pressure testing (typically 24 hours for full strength).
- Inspection Prep: Before the inspector arrives, ensure all joints are visible and not buried in walls. The purple ring should be clean and obvious.
External References
For the definitive chemical and performance standards governing these products, refer to the ASTM International specifications, which are cited by the model codes:
ASTM F656 – Standard Specification for Primers for Use in Solvent Cement Joints of Poly(Vinyl Chloride) (PVC) Plastic Pipe and Fittings. This specification details the required properties of the primer itself. More information can be found on the ASTM F656 overview page.