Nail Plate Protection
The Diagnosis: Defining Nail Plate Protection
Nail plate protection is a non-negotiable code-mandated safety system for plumbing and electrical installations. It involves the installation of hardened steel plates, typically 1/16-inch thick, over framing members (studs, joists, rafters) where pipes, tubing, or cables pass through bored holes. The primary function is to prevent accidental penetration by fasteners—nails or screws—during subsequent construction phases like drywall, trim, or cabinet installation. Failure to install these plates can lead to catastrophic water damage, electrical shorts, or gas leaks, resulting in costly repairs and significant safety hazards. This guide details the precise applications, installation standards, and critical considerations for modern materials like PEX.
Technical Deep Dive: Installation Protocol and Best Practices
Correct installation of nail plates is a systematic process. Adhering to these steps ensures code compliance and long-term system integrity.
Step 1: Identification and Planning
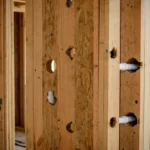
- Map All Penetrations: After drilling holes for plumbing home runs, electrical cables, or gas lines, immediately identify every point where the material passes through the face of a wood member.
- Critical Zones: Pay special attention to areas within 1-1/4 inches of the stud’s face. This is the standard “nail danger zone” for 2×4 framing where drywall or trim nails are most likely to penetrate.
Step 2: Proper Hole Drilling in Studs (Stud Drilling)
- Hole Size & Location: Holes should be bored, not notched, whenever possible. The maximum hole diameter is typically limited to 40% of the stud’s width (e.g., a 1-3/8″ max hole in a 2×4 stud).
- Edge Distance: Maintain a minimum distance from the edge of the stud. For 2×4 load-bearing walls, holes must generally be centered no less than 5/8″ from the stud’s edge. Holes closer than this mandate a nail plate.
- Tool Example: Use a high-torque, right-angle drill (e.g., Milwaukee M18 FUEL) with a quality self-feed bit or hole saw for clean, precise holes that minimize wood splintering.
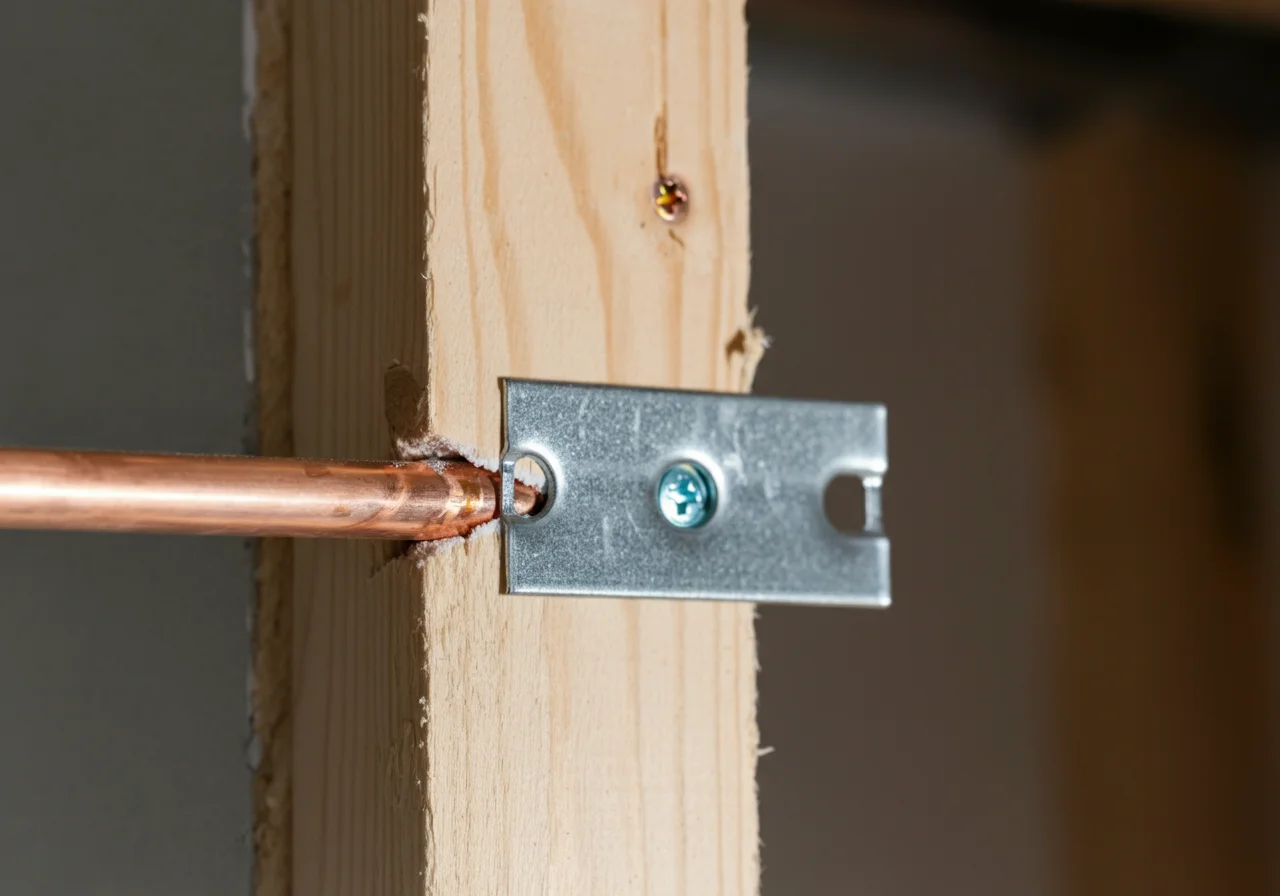
Step 3: Plate Selection and Installation
- Plate Sizing: The plate must extend a minimum of 1/2″ to 1″ beyond the edge of the hole on all sides. Common sizes are 2″x6″ or 3″x6″.
- Fastening: Secure the plate using minimum 6d (2-inch) common nails or #8 x 3/4-inch screws. Fasteners should be placed at each corner and should not penetrate the pipe or cable behind the plate. A pneumatic palm nailer (e.g., Ridgid) is ideal for efficiency.
- Multiple Services: When multiple pipes or cables pass through the same stud in close proximity, use a single, wide plate that covers the entire cluster of holes.
Step 4: Special Considerations for PEX Safety
- Expansion and Contraction: PEX tubing expands and contracts with temperature changes. Ensure the bored hole is sufficiently large (typically 3/8″ larger than the pipe OD) to prevent abrasion, but this does not negate the need for a plate if the hole is near the edge.
- Abrasion Protection: While a nail plate protects from frontal puncture, also guard against long-term chafing where PEX passes through metal framing or sharp-edged holes. Use protective grommets or bushings in conjunction with plates.
- Manifold Home Runs: Bundles of PEX lines are common. A cluster of holes may require a custom-sized or multiple overlapping plates to provide complete coverage for all tubes.
Code & Compliance: The Legal Mandate
Nail plate requirements are explicitly defined in the major model codes, making them a legal requirement in most jurisdictions upon adoption.
| Code | Section | Key Requirement |
|---|---|---|
| International Plumbing Code (IPC) | P305.6 | “Where pipes, tubes or fittings are installed in bored or notched holes of wood studs, joists, rafters or similar members, such members shall be protected by… steel shield plates.” Specifies plates must be at least 0.062-inch thick. |
| Uniform Plumbing Code (UPC) | 312.3 | Mandates protection where the edge of the bored hole is less than 1-1/4 inches from the face of the stud. Also requires protection for pipes in notches. |
| National Electrical Code (NEC) | 300.4(D) | Requires cables (NM-B, etc.) to be protected from nails or screws where they are closer than 1-1/4″ from the face of the stud. Recognizes the same steel plate standard. |
| International Residential Code (IRC) | P2603.5.1 / E3606.2 | Consolidates plumbing and electrical requirements for dwelling units, mirroring the IPC and NEC standards. |
Safety Warning: Always verify the specific amendments adopted by your local Authority Having Jurisdiction (AHJ). The inspector’s approval is final.
Toolbox: Essential Gear for Compliance
- Inspection Tools: A quality Fluke T+ Pro voltage tester or a stud finder with AC wire detection is crucial for identifying existing hazards before cutting or drilling into walls.
- Drilling & Fastening: As noted, a powerful right-angle drill and a pneumatic nailer are professional-grade choices for efficient, code-compliant work.
- Plate Bender: For plumbing runs that require plates on both sides of a stud (e.g., a pipe running parallel and close to the face), a dedicated plate bender creates a U-shaped guard that wraps around the stud edge.
External Reference for Technical Standards
For definitive specifications on material thickness and installation methods, always consult the primary source. The International Code Council provides free access to key code sections for verification.
ICC Digital Codes: IPC Chapter 3 – General Regulations (See Section P305.6 for nail plate specifications).
Conclusion: An Ounce of Prevention
Nail plate protection is the epitome of building science: a simple, low-cost component that prevents high-cost failures. Its mandate in the IPC, UPC, and NEC is based on decades of field experience with preventable system failures. For the professional tradesperson, meticulous installation of these plates is a mark of craftsmanship and a critical component of risk management. For the advanced DIYer, understanding and applying this standard is what separates a hazardous hack from a durable, safe, and inspectable installation. Always install the plate.
Final Safety Warning: Before drilling into any wall, ceiling, or floor cavity, ensure all electrical circuits are de-energized at the breaker panel and verified with a multimeter. For plumbing, confirm the main water supply and relevant branch stops are shut off and the lines are depressurized.