Shower Valve Height: Installation Standards and Code Compliance
Correct shower valve height is a critical installation parameter that ensures user safety, comfort, and compliance with building codes. Improper height can lead to scalding risks, accessibility issues, and failed inspections. This guide details the standard and code-mandated heights for pressure-balancing or thermostatic mixing valves, showerheads, and tub spouts, with a focus on residential and ADA-compliant installations.
The Diagnosis: Why Precise Valve Height Matters
Installing a shower valve at an incorrect height is a common but serious error. A valve placed too high can be difficult for children or users with mobility limitations to operate, while a valve placed too low forces users to bend over, increasing the risk of losing balance and being exposed to sudden temperature changes. Furthermore, the height of the valve directly influences the required length of the tub spout nipple and the performance of the shower-tub diverter system.
Technical Deep Dive: Standard Installation Heights
While local amendments always take precedence, the following heights are derived from common practice and model plumbing codes like the International Plumbing Code (IPC) and Uniform Plumbing Code (UPC). Always measure from the finished floor to the center of the valve outlet or fixture.
1. Standard Shower/Tub Valve Height
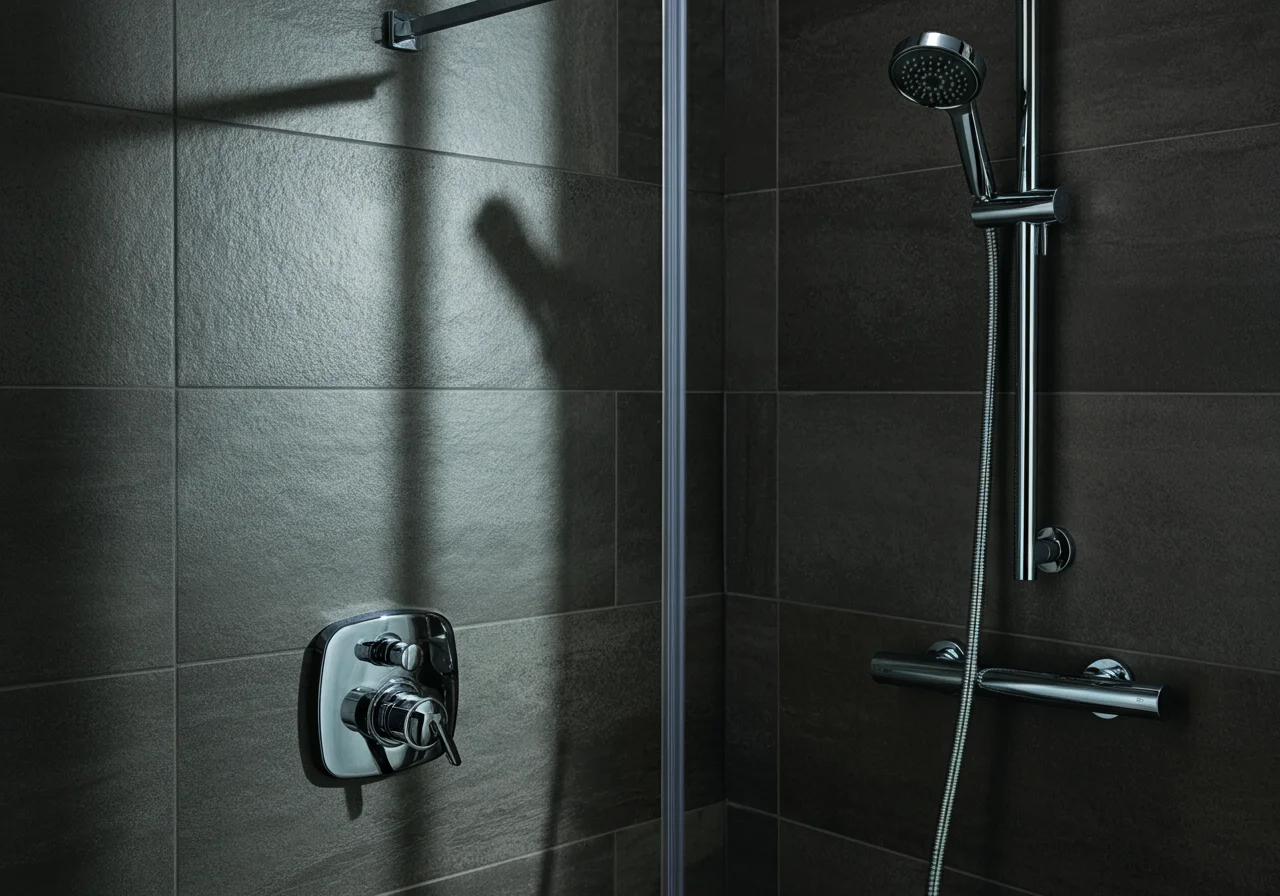
- Typical Height: The center of the pressure-balancing or thermostatic valve (the shower handle) is most commonly installed at 48 inches above the finished floor.
- Technical Rationale: This height provides a comfortable operating position for a standing adult of average height, typically between the shoulder and waist level. It also positions the valve safely above the tub rim to prevent direct water ingress.
- Tub Spout Relationship: The valve must be installed at a height that allows for a proper tub spout installation. The IPC requires the tub spout to be mounted a minimum of 2 inches above the tub rim (UPC Section 417.3). The connecting nipple between the valve’s tub outlet and the spout must be long enough to prevent backpressure but not so long that it restricts flow.
2. Showerhead and Hand Shower Height
- Fixed Showerhead: Standard mounting height is 80 inches above the finished floor. This provides clearance for most users.
- Sliding Bar or Hand Shower: The mounting bracket for a hand shower should be installed at a height that allows the hose to be used both as a fixed showerhead and for lower-body rinsing. A common range is between 48 and 78 inches.
3. Critical Measurement: Valve to Spout Distance
The vertical distance from the valve’s tub outlet to the spout connection is crucial. Most valve manufacturers specify a maximum vertical distance (often 12 to 18 inches) to ensure the diverter in the tub spout functions correctly. Exceeding this can cause the shower to drip when the tub is filling.
| Component | Standard Height (Center to Finished Floor) | Code Reference / Note |
|---|---|---|
| Shower/Tub Valve (Handle) | 48 inches | Industry Standard |
| Tub Spout Outlet | Approx. 4-8 inches above tub rim* | *Dependent on valve height and manufacturer’s max drop specification. |
| Fixed Showerhead | 80 inches | IPC 408.6 (Minimum 80″ for shower compartments) |
| Tub Spout (Outlet) | Minimum 2″ above flood rim | UPC 417.3 / IPC 406.4 |
Code & Compliance: ADA Requirements for Accessible Showers
The Americans with Disabilities Act (ADA) Standards for Accessible Design dictate specific requirements for shower controls in public accommodations and commercial facilities. These are critical for multi-family housing, hotels, and healthcare facilities. Residential applications often adopt these standards for universal design.
- Valve Height (ADA): Shower and tub controls must be mounted between 38 inches and 48 inches above the finished floor (ADA Section 608.4).
- Operability: Controls must be operable with one hand and shall not require tight grasping, pinching, or twisting of the wrist. Pressure-balancing or thermostatic valves are mandatory for safety.
- Shower Seat & Clearance: In transfer-type showers, the controls must be located on the control wall adjacent to the seat, within 15 inches horizontally from the centerline of the seat. In roll-in showers, they are placed on the side wall opposite the seat.
- Hand Shower (ADA): A hand shower with a hose at least 59 inches long is required. The hand shower holder must be mounted between 38 and 48 inches above the floor and be adjustable up to 72 inches (ADA Section 608.5).
Always verify with your local Authority Having Jurisdiction (AHJ) for any amendments to the model codes or ADA standards that may be in effect.
Toolbox: Essential Tools for Precision Installation
Accurate layout and installation require the right tools. Using professional-grade equipment ensures measurements are correct and installations are secure.
- Layout & Measurement: A high-quality 25-foot tape measure (like Milwaukee Wide Blade) and a 4-foot level are non-negotiable. A laser level can expedite marking multiple outlet heights on studs.
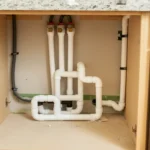
- Installation: For securing valve bodies and mounting plates, a cordless drill/driver (such as a Ridgid Octane) is essential. Use pipe wrenches or adjustable wrenches for tightening supply connections, and a quality tubing cutter for clean cuts on copper or CPVC.
- Inspection: A pressure gauge to test system pressure post-installation is recommended to ensure it falls within the valve manufacturer’s specifications.
Step-by-Step Installation Protocol
- Plan and Mark: Determine the type of shower (tub/shower, stall, ADA) and the specific valve model. Consult the manufacturer’s rough-in guide. On the open stud wall, use a level to mark a vertical line for the valve center. Measure up from the finished floor (accounting for underlayment and tub) and mark the exact center point for the valve outlet at 48 inches (or ADA-compliant height).
- Calculate Tub Spout Drop: Measure the vertical distance from your marked valve center to the planned tub spout connection point (approx. 2-8 inches above the tub rim). Verify this distance is within the valve manufacturer’s specified maximum “drop” to the tub spout.
- Secure the Valve: Mount the valve body securely to a horizontal backing board fastened between studs. Ensure it is perfectly plumb. Use the manufacturer’s template to ensure proper nail/screw placement for the finished trim plate.
- Connect the Tub Spout: Install the appropriate length threaded nipple (copper, brass, or approved plastic) from the valve’s tub outlet. Apply thread sealant (Teflon tape or pipe dope) only on the male threads, leaving the first two threads bare. Screw on the tub spout and hand-tighten, then give a final quarter-turn with a wrench—avoid overtightening.
- Pressure Test: Before closing the wall, cap the outlets and pressure test the entire piping system to 100 PSI or 1.5 times the working pressure (per IPC 312) for a minimum of 15 minutes to check for leaks.
External References for Further Detail
For the most authoritative technical specifications and safety guidelines, always refer to primary sources:
- ADA Standards for Accessible Design (2010) – The official U.S. Department of Justice page for ADA technical requirements.
- International Association of Plumbing and Mechanical Officials (IAPMO) – Publishers of the Uniform Plumbing Code (UPC).
- Valve Manufacturer Installation Sheets (e.g., Moen, Delta, Kohler). Always use the sheet specific to your valve model number.
Final Note: Adherence to code-mandated shower valve height is not merely about passing inspection; it is a fundamental practice of professional plumbing that ensures long-term safety, accessibility, and reliable operation for the end-user. When in doubt, defer to the most restrictive standard—be it local code, manufacturer instruction, or ADA guideline.