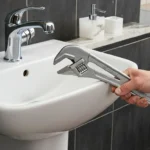
Manual PEX Crimper
The Diagnosis: Manual PEX Crimper Selection and Calibration
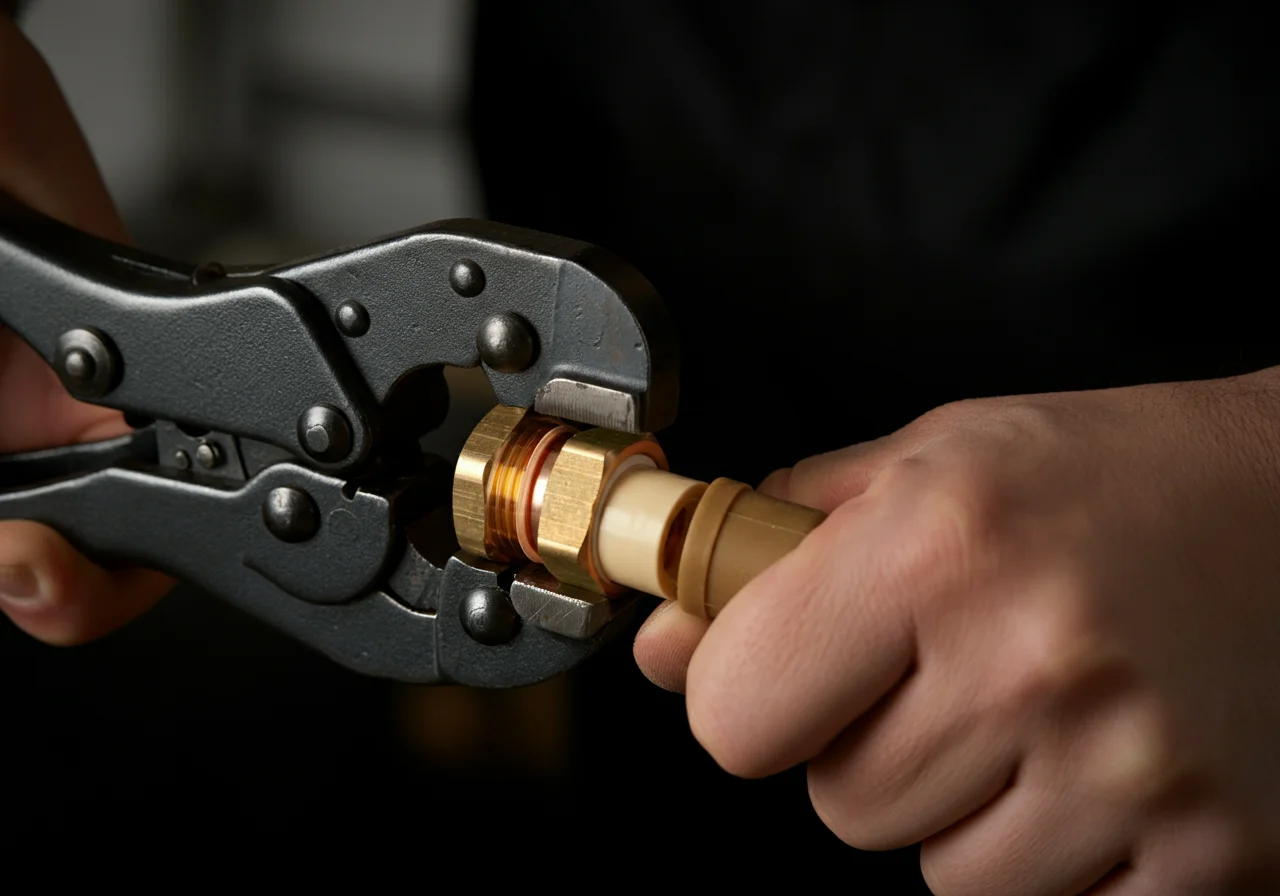
A Manual PEX Crimper is a hand-powered tool designed to create a permanent, watertight connection between PEX-B tubing and a copper crimp ring. Its proper use and calibration are non-negotiable for system integrity. This guide defines when a manual tool is the correct choice over a battery-powered alternative and details the mandatory calibration procedure using a Go-No-Go Gauge to ensure every crimp meets code.
Technical Deep Dive: Manual vs. Battery-Powered Crimping
The choice between a manual and battery-powered PEX crimper is not about preference but about job-specific efficiency, cost, and ergonomics. For PEX-B systems, both tools perform the same mechanical action but are suited for different scales of work.
- When to Use a Manual PEX Crimper:
- Low-Volume/Service Work: Ideal for repair calls, small additions (e.g., adding a single fixture), or light DIY projects where fewer than 20-30 crimps are needed per day.
- Tight Access & Overhead Work: The compact head and lack of a bulky battery pack allow for easier maneuvering in confined spaces like under sinks or between joists.
- Budget & Tool Truck Management: A significant cost savings with no batteries to maintain, charge, or replace. A primary tool for apprentices or a reliable backup for every pro’s van.
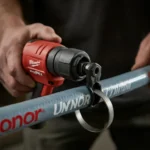
- When to Use a Battery-Powered Crimper:
- New Construction & High-Volume Rough-Ins: Essential for plumbing an entire house where hundreds of crimps are required. Drastically reduces installer fatigue and increases speed.
- Commercial Projects: Necessary for maintaining productivity on large-scale multi-unit or commercial jobs with repetitive connections.
The Calibration Procedure: Using the Go-No-Go Gauge
Calibration is not a suggestion; it’s a daily requirement per manufacturer and code to prevent systemic failure. The Go-No-Go Gauge is the sole arbiter of a correct crimp.
Safety Warning: Before any work, confirm the water supply is OFF and the system is depressurized. Wear ANSI-approved safety glasses during crimping.
- Perform a Test Crimp: Assemble a short piece of PEX-B tubing onto a fitting and secure it with a copper crimp ring. Position the manual crimper’s jaws squarely over the ring and apply full, firm pressure until the tool’s jaws close completely.
- Use the “GO” Side: The rounded, U-shaped end of the gauge must slide over the crimped ring with slight drag. If it does not fit, the crimp is under-compressed and will leak.
- Use the “NO-GO” Side: The squared-off, flat end of the gauge must NOT fit over the crimped ring. If it slides on, the crimp is over-compressed, which can weaken the PEX and cause a future failure.
- Adjust or Service the Tool: If the crimp fails either test, the tool is out of calibration. For manual tools, this typically means the jaw geometry is worn or damaged. Clean the jaws thoroughly. If problems persist, the tool must be serviced or replaced. Do not continue using an out-of-spec tool.
| Crimp Test Result | Diagnosis | Action Required |
|---|---|---|
| Fails “GO” Test | Under-Crimped | Check for jaw wear/debris; ensure full hand pressure is applied; replace tool if needed. |
| Fails “NO-GO” Test | Over-Crimped | Tool jaws are likely damaged or misaligned. Tool requires professional service or replacement. |
| Passes Both Tests | Correct Crimp | Crimp is code-compliant. Re-calibrate at the start of each workday and if the tool is dropped. |
Code & Compliance
Adherence to plumbing code is the legal foundation of a proper installation. The International Plumbing Code (IPC) and Uniform Plumbing Code (UPC) govern PEX installations.
- IPC P2904.6 / UPC 604.7 (Joint Installation): States that joints must be made in accordance with the manufacturer’s instructions. This legally mandates the use of the manufacturer-specified tool and the calibration procedure outlined above.
- Manufacturer’s Instructions are Code: The installation instructions for your specific brand of PEX-B tubing and fittings (e.g., Uponor, Sioux Chief, SharkBite) carry the force of code. They explicitly require the use of a Go-No-Go Gauge for calibration.
- Inspector Verification: Plumbing inspectors can and will ask to see your gauge and may request a demonstration of a test crimp. An uncalibrated tool is a direct violation.
Toolbox: Essential Gear for Manual Crimping
Using professional-grade tools ensures reliability and longevity. For manual crimping, your core kit must include:
- Manual PEX Crimper: A quality, color-coded tool (typically red for 1/2″, blue for 3/4″, yellow for 3/8″). Brands like Ridgid and Milwaukee offer durable, pro-grade manual crimpers with replaceable jaws.
- Go-No-Go Gauge: This is a consumable safety device. Keep at least two on hand—one on your tool cart and one in your van. Replace it if it becomes damaged or worn.
- PEX Tubing Cutter: Never use a saw. A sharp, dedicated PEX cutter (Ridgid is an industry standard) ensures a clean, square cut, which is critical for a proper seal.
- Deburring/Reaming Tool: After cutting, remove all internal and external burrs from the PEX-B tubing to prevent damage to the O-ring inside the fitting.
External Reference for Technical Standards
For a definitive, manufacturer-agnostic overview of PEX tubing material standards, properties, and testing protocols, refer to the ASTM International specification for PEX. This is the foundational material standard that all PEX-B products must meet.
ASTM F876 – Standard Specification for Crosslinked Polyethylene (PEX) Tubing (Opens in a new window).