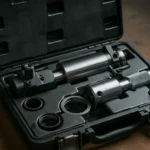
Internal Pipe Wrench
The Diagnosis: Extracting Broken Threads from Within a Fitting
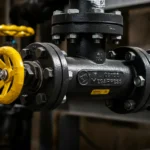
An internal pipe wrench is a specialized extraction tool designed to remove the broken-off threaded end of a pipe (commonly a broken nipple or riser) that remains inside a female fitting. This scenario is a frequent and frustrating failure in plumbing systems, where overtightening, corrosion, or differential material hardness causes the pipe to shear. The primary function of the tool is to grip the pipe’s interior wall, allowing for counter-clockwise rotation to back out the remnant without damaging the surrounding, often more expensive, fitting—a critical process known as riser extraction.
Technical Deep Dive: Step-by-Step Extraction Procedure
Successful use of an internal wrench requires a methodical approach. Rushing this process can gall the remaining threads or crack the fitting.
- Preparation and Safety:
- Shut off the water supply and relieve system pressure. For gas lines, shut off the gas supply and purge the line.
- Drain the relevant section of pipe. Have a bucket and towels ready for residual water.
- Wear safety glasses and heavy-duty gloves. Broken threads often have sharp, jagged edges.
- Inspection and Sizing:
- Clean out the broken pipe segment. Use a small wire brush or pick to remove debris, scale, or old pipe dope from the interior threads of the remnant.
- Measure the internal diameter (ID) of the broken pipe piece. Select the correct size internal wrench. Most sets, like those from Ridgid, are clearly marked for pipe sizes (e.g., 1/2″, 3/4″). Using a wrench too small will not grip; one too large will not insert.
- Tool Engagement:
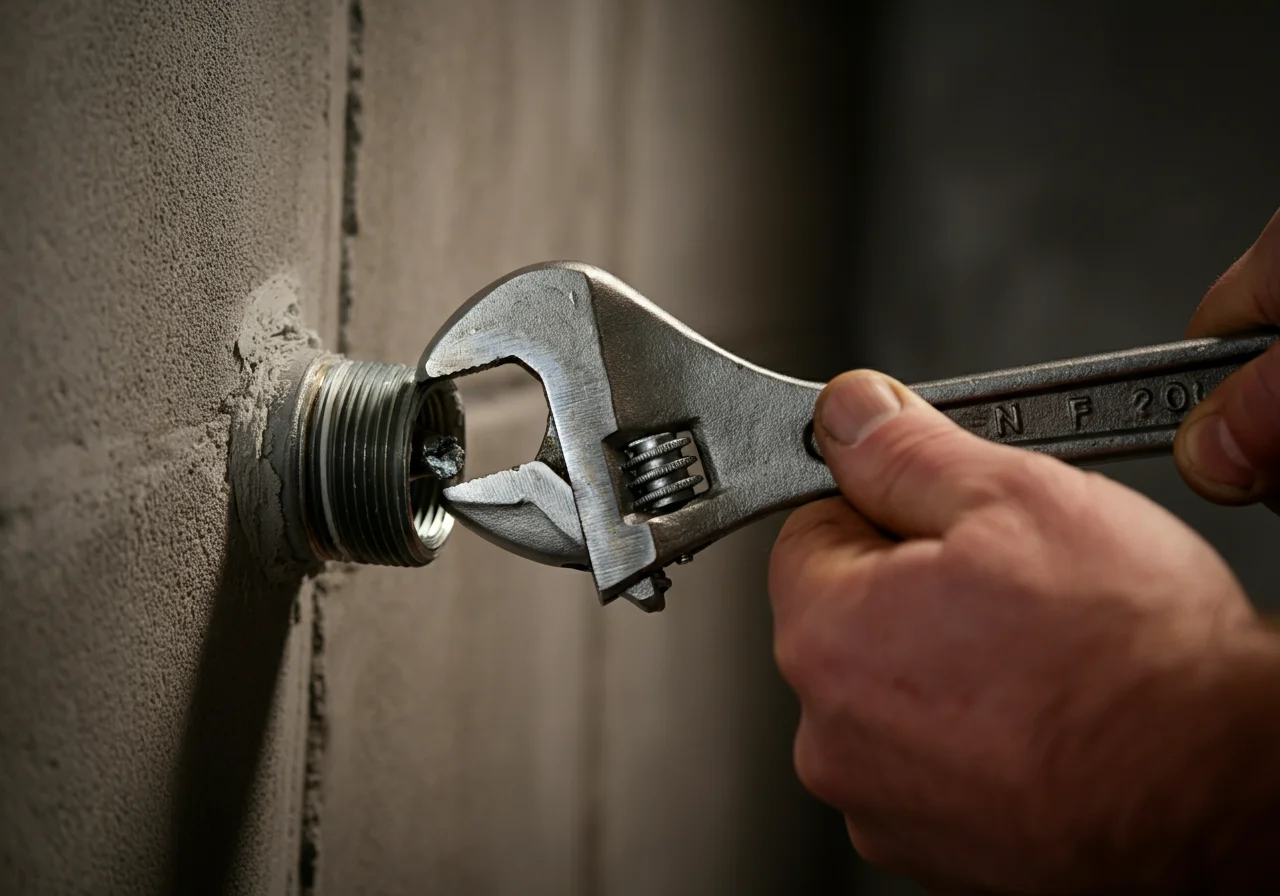
- Insert the wrench into the broken pipe. The tool’s external teeth should be aligned with the pipe’s interior wall.
- Using an adjustable wrench or a ratchet (depending on the tool’s drive), turn the internal wrench clockwise. This initial clockwise turn expands the tool’s gripping segments or teeth, biting firmly into the pipe’s inner wall. You will feel significant resistance when it is fully engaged.
- Extraction:
- Once fully engaged, apply steady, firm pressure counter-clockwise to unscrew the broken piece. A cheater bar may be necessary for stubborn, corroded fittings, but apply heat judiciously to avoid damaging adjacent components.
- If the piece begins to spin without backing out, the grip has failed. Disengage, clean the pipe ID again, and re-engage the tool more aggressively.
- Post-Extraction:
- After removal, inspect the female fitting’s threads. Chase them with an appropriate Ridgid pipe tap or fitting brush to ensure clean, new threads for the replacement pipe.
- Apply fresh thread sealant (pipe dope or tape) compatible with the system media (water, gas, steam) and install the new nipple or riser.
Code & Compliance: Protecting the System Integrity
While the extraction process itself is a repair technique, the outcome must meet code standards for a new installation.
- IPC/UPC – Thread Integrity: Both the International Plumbing Code (IPC) and Uniform Plumbing Code (UPC) require pipe threads to be fully formed and free of cracks or defects (IPC 605.4, UPC 604.1). Using an internal wrench to preserve the fitting threads is a code-compliant alternative to cutting out and replacing the entire fitting, which is often more invasive.
- NEC & Gas Codes: For electrical conduit or gas line repairs, the extracted fitting must provide a continuous, approved grounding path or gas-tight seal per National Electrical Code (NEC) Article 250 or NFPA 54/IRC G2411 respectively. Damaged threads from a poor extraction may necessitate fitting replacement.
- OSHA Safety: The use of hand tools like internal wrenches falls under general industry safety standards. Ensure the work area is dry to prevent slips, and use appropriate PPE as per OSHA 29 CFR 1910 Subpart I.
Toolbox: Essential Gear for the Job
Having the right tools on hand turns a potential disaster into a routine repair.
| Tool | Purpose | Pro-Grade Example |
|---|---|---|
| Internal Pipe Wrench Set | Grips and removes broken pipe nipples from 1/8″ to 2″. | Ridgid Internal Wrench Set (Model 11315) |
| Pipe Tap & Die Set | Cleans and restores female threads after extraction. | Ridgid Pipe Taps (NPT) |
| Digital Calipers | Precisely measures the ID of the broken pipe for correct tool selection. | General Tools Digital Caliper |
| Multimeter | For electrical work: verifies power is OFF before working on conduit. | Fluke T6 Electrical Tester |
Safety Warning: Non-Negotiable Precautions
ALWAYS confirm the system is depressurized and isolated. For water lines, shut the main valve and open downstream faucets. For gas lines, shut the service valve and verify no pressure with a manometer or approved leak solution. Never assume a valve is holding; physically verify the line is dead. Working on a live system can cause sudden, violent releases of media leading to injury or property damage.
External Reference for Technical Standards
For a definitive engineering overview of pipe threads, which is fundamental to understanding extraction mechanics, the National Institute of Standards and Technology (NIST) provides the official specification. You can review the details for NPT (National Pipe Taper) threads on the NIST website, which governs the thread form used in most US piping systems.