ProPress Leak Causes
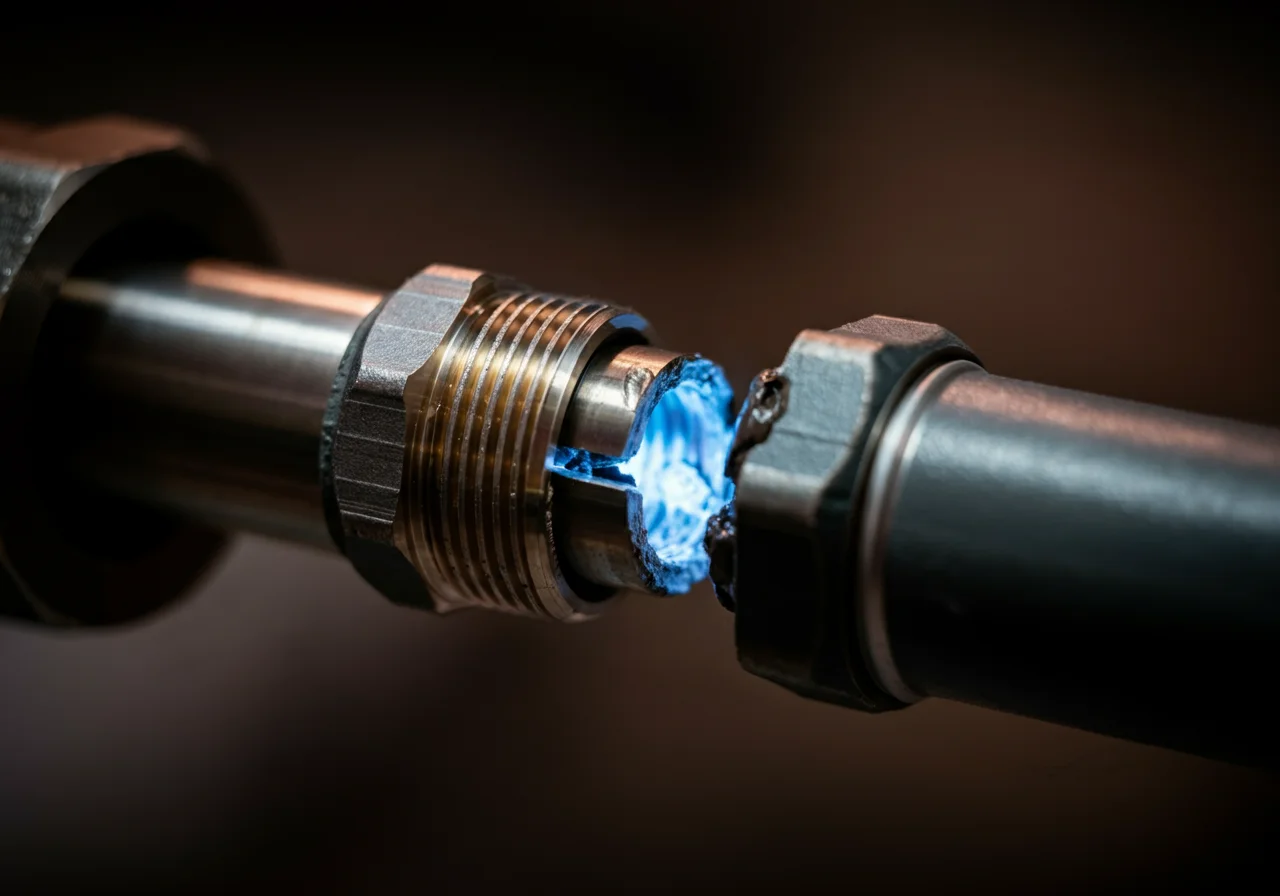
The Diagnosis: ProPress Leak Causes
A ProPress leak, identified after a failed pressure test, is almost always the result of an operator error during installation, not a fitting defect. The system’s reliability is contingent on perfect execution of the pressing procedure. The primary ProPress leak causes stem from incorrect pipe preparation, improper tool use, and failure to adhere to manufacturer specifications for insertion depth and jaw alignment.
Technical Deep Dive: Step-by-Step Failure Analysis and Correction
To eliminate leaks, you must systematically address each critical variable in the pressing process. Follow this diagnostic and corrective procedure.
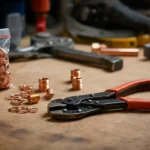
1. Pipe Preparation and Inspection
- Deburring: Use a dedicated tubing cutter (e.g., Ridgid 103) to make a square cut. Immediately after cutting, use a quality deburring tool to remove all internal and external burrs. An internal burr creates a channel for water to bypass the O-ring seal.
- Cleaning and Marking: Wipe the pipe end and fitting socket clean with a lint-free rag. Use the manufacturer’s go/no-go gauge or a depth marker to scribe the correct insertion depth line on the pipe. This visual reference is non-negotiable.
- O-Ring Inspection: Visually inspect the EPDM O-ring inside the fitting for damage, debris, or displacement before assembly. A dry fit should feel snug.
2. Critical Error: Incorrect Insertion Depth
This is the most common cause of catastrophic leaks. The pipe must be fully seated against the fitting stop.
- Symptom: Leak occurs immediately during pressure test, often with a steady drip or stream.
- Cause: Pipe not pushed fully into the fitting socket. The O-ring is not compressed in its designed sealing zone.
- Correction: After marking the depth line, insert the pipe with a firm, straight push until the pipe end contacts the internal stop. The depth line must be completely hidden within the fitting socket. If it is visible, the joint is compromised and must be cut out and replaced.
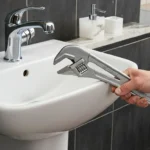
3. Critical Error: Improper Jaw Alignment
The press tool’s jaws must be oriented correctly on the fitting.
- Symptom: Leak may be immediate or develop over time. The press crimp may appear asymmetrical or misaligned on the fitting.
- Cause: Jaws are not centered on the fitting’s press indicator rings (the raised bands). Using worn or wrong-size jaws (e.g., 1″ jaws on a 3/4″ fitting).
- Correction: For tools like the Milwaukee M12 or RIDGID RP 340, ensure the colored dies match the fitting size. Position the tool so the jaws are centered directly over the fitting’s press rings. The tool must be held square to the fitting during the entire press cycle. Listen for the complete cycle “click” or watch for the tool’s indicator.
4. Pressing Procedure Verification
- Tool Calibration: Verify your press tool is calibrated according to the manufacturer’s schedule. An under-pressed joint will leak; an over-pressed joint can damage the O-ring.
- Visual Inspection Post-Press: A correctly pressed fitting will show uniform indentation around the entire circumference, with the jaw marks centered on the indicator rings. The pipe should not rotate or pull out.
Code & Compliance
While mechanical pressing systems like ProPress are approved for use, the installation is governed by plumbing codes which mandate workmanship and material standards.
- IPC 2021, Section 305.3: “Joint surfaces shall be clean and free from imperfections… All joints and connections shall be made gas-tight and water-tight.” This places the burden on the installer to ensure proper preparation and pressing.
- UPC 2021, Section 604.5: “Mechanical joints shall be installed in accordance with the manufacturer’s instructions.” Deviating from the specified insertion depth or tool procedure violates this code.
- General Liability: A leak causing property damage traces back to installation error, highlighting the critical need for documented training and adherence to procedure.
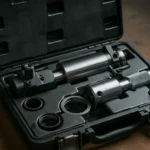
Toolbox: Essential Gear for Leak-Free Presses
Using professional-grade tools is a primary defense against leaks.
| Tool Category | Purpose | Example Brands/Models |
|---|---|---|
| Tubing Cutter & Deburrer | Ensures square, burr-free pipe ends for full insertion. | RIDGID 103 Cutter, Wheeler Rex 700 Deburring Tool |
| Press Tool & Correct Jaws | Applies calibrated, uniform pressure. Must match pipe material (Cu vs. SS). | Milwaukee M12 Force Logic, RIDGID RP 340, Viega Pressgun |
| Depth Gauge/Marker | Provides the visual reference for correct insertion depth. | Manufacturer-provided gauge or proprietary marker. |
| Multimeter (for systems) | To verify electrical isolation before pressing near electrical conduits. | Fluke T6-1000 |
Safety Warning & Best Practices
Final Pressure Test Protocol: After assembly, perform a static pressure test per code (typically 1.5x working pressure for 15 minutes). Isolate the newly pressed section if possible. Inspect every joint with a dry cloth or mirror for micro-weeps. A leak means the joint must be cut out—re-pressing is not an approved or reliable repair method.
External References
For the definitive, legally governing instructions, always consult the manufacturer’s installation manual. The Viega ProPress Installation Guide provides exhaustive detail on tolerances, tool cycles, and specifications.
Viega ProPress Installation Instructions (Manufacturer Resource)