Sediment Buildup Sounds
The Diagnosis: Identifying Sediment Buildup by Sound
Sediment buildup is the primary cause of abnormal operational noises in tank-style water heaters. When mineral deposits—primarily calcium carbonate (lime scale) and magnesium—settle and accumulate at the bottom of the tank, they create an insulating layer between the burner or heating element and the water. This leads to localized overheating, steam pocket formation, and the characteristic popping, rumbling, or cracking sounds you hear. Left unaddressed, this condition drastically reduces heating efficiency, increases energy costs, and can lead to premature tank failure.
Technical Deep Dive: Step-by-Step Diagnosis & Flushing Procedure
Correctly diagnosing and remedying sediment issues requires a systematic approach. The following procedure is for a standard 40- or 50-gallon residential tank. SAFETY WARNING: Before beginning, turn off the power at the circuit breaker for electric units or set the gas valve to “Pilot” for gas units. Shut off the cold water supply valve feeding the heater. Allow the tank to cool completely for several hours to avoid scalding risk from hot water or steam.
Step 1: Confirm the Diagnosis
- Listen: The sounds are most pronounced during the heating cycle. Popping is typical of electric heaters, while a deeper rumbling is common in gas-fired models.
- Check Symptoms: Note if hot water supply has diminished, recovery time has increased, or energy bills have risen—all secondary indicators of sediment problems.
Step 2: Gather Tools and Equipment
- Standard garden hose (length to reach drain location)
- Flat-head and Phillips screwdrivers
- Adjustable wrench or channel-lock pliers (e.g., Ridgid)
- Socket wrench set for anode rod access (typically 1-1/16″ socket)
- Bucket and rags
Step 3: The Correct Flushing Procedure
Partial draining is insufficient. A full, vigorous flush is required to dislodge hardened sediment.
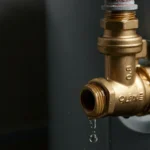
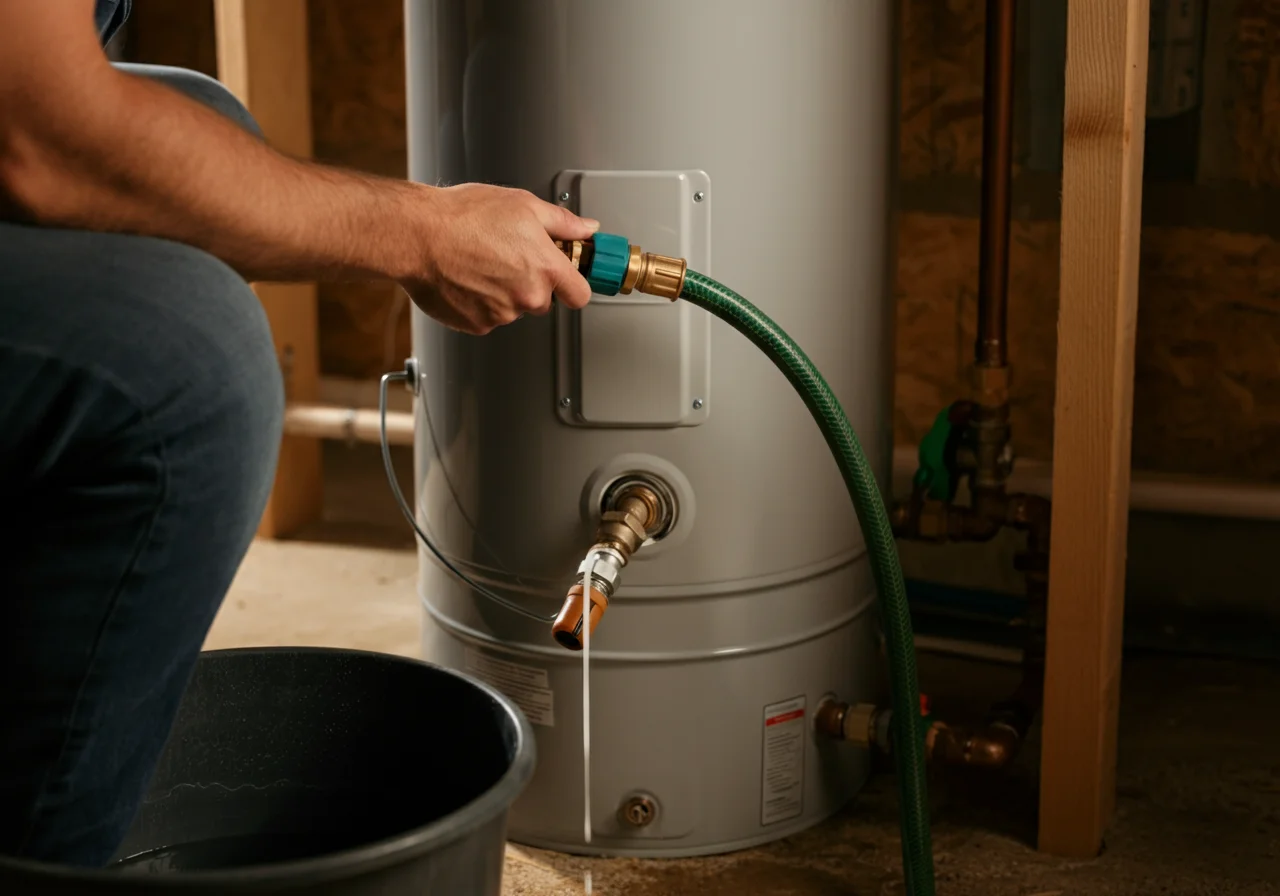
- Connect Hose & Open Drain Valve: Attach a garden hose to the tank’s drain valve (usually brass or plastic, located near the bottom). Route the other end to a floor drain, utility sink, or outdoors. Open a hot water faucet in the house to prevent a vacuum. Slowly open the drain valve fully.
- Flush with Cold Water Pressure: After the tank empties, briefly turn the cold water supply valve back ON. Allow a high-volume burst of cold water to agitate the tank bottom for 15-30 seconds, then shut the supply off. Repeat this surge-flushing 3-5 times until the water runs completely clear from the hose. Sediment will appear as sandy, gray, or brown discharge.
- Complete the Drain & Refill: Once flushed, close the drain valve securely. Close the hot water faucet you opened earlier. Fully open the cold water supply valve to refill the tank. Open several hot water faucets in the house to purge air from the lines. Once water flows steadily from the faucets, close them.
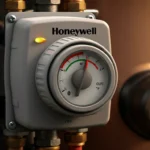
- Restore Power: For electric heaters, ensure the tank is completely full before restoring power at the breaker to prevent element burnout. For gas units, relight the pilot per manufacturer instructions and set the thermostat to the desired temperature (typically 120°F to meet code and for safety).
Step 4: Anode Rod Inspection and Replacement
The sacrificial anode rod is critical for preventing tank corrosion. Sediment can coat the rod, rendering it ineffective. Inspection is recommended during flushing.
- Locate and Access: The anode rod is threaded into the top of the tank. It may be under a separate hex-head plug or integrated with the hot water outlet nipple. Use the appropriate socket wrench.
- Remove and Inspect: Carefully unscrew the rod. If it is less than 1/2″ thick or has large sections of core wire exposed (more than 6 inches), it must be replaced. Heavy calcium coating also indicates reduced effectiveness.
- Install New Rod: Wrap the threads of the new rod with Teflon tape rated for potable water. Hand-tighten, then give it a final quarter-turn with the wrench. Do not overtighten.
Code & Compliance
While flushing itself is a maintenance procedure, related installations and safety are governed by code.
- IPC P2803.4 (Temperature Relief Valve Drain Pipe): Requires the T&P valve discharge pipe to terminate “not more than 6 inches above the floor.” This is critical for safe pressure relief, a function that can be compromised by severe sediment blockage.
- UPC 608.5 (Drain Valves): Mandates that water heater drain valves be “approved” and of a type that provides a full, unrestricted flow for draining and sediment removal. Ball-type valves are superior to standard gate valves for this purpose.
- NEC Article 422 (Electric Water Heaters): Requires a dedicated branch circuit. Ensuring power is correctly disconnected and reconnected per code prevents electrical hazards during maintenance.
Toolbox: Recommended Equipment
Using reliable tools ensures efficiency and safety.
| Tool | Purpose | Example Brand/Type |
|---|---|---|
| Adjustable Wrench | Connecting hoses, tightening fittings | Ridgid Aluminum Adjustable Wrench |
| Socket Wrench Set | Anode rod removal | Deep-well impact socket (1-1/16″) |
| Multimeter | Verifying power is OFF for electric units | Fluke T5 Electrical Tester |
| Hose | Draining and flushing | Heavy-duty, kink-resistant garden hose |
External Reference
For definitive specifications on your specific water heater model, including torque values for the anode rod and element wattage, always consult the manufacturer’s installation and service manual. As an example of technical documentation, you can review the generic manual structure provided by a major standards organization: Air-Conditioning, Heating, and Refrigeration Institute (AHRI) Directory. This resource allows you to search for certified product performance data.
Prevention and Maintenance Schedule
To prevent recurring sediment buildup and associated noises, implement a proactive maintenance schedule.
- Annual Flushing: Perform the full flushing procedure at least once per year. In areas with very hard water, consider a 6-month schedule.
- Anode Rod Check: Inspect the anode rod every 2-3 years, or at the time of purchase if the home is new to you.
- Temperature Setting: Maintain the thermostat at 120°F (49°C). Higher temperatures accelerate scale formation and pose a scald hazard.
- Whole-House Consideration: For chronic hard water issues, installing a water softener or a scale inhibition system at the home’s main inlet is the most effective long-term solution to protect all plumbing fixtures and appliances.
Ignoring the warning sounds of sediment accumulation is a costly mistake. The procedure outlined here is a core competency for maintaining system longevity, efficiency, and safety. Regular maintenance not only eliminates the noise but also protects your significant investment in the water heating system.