Expansion Tank Bladder Fail
The Diagnosis: Recognizing a Failed Expansion Tank Bladder
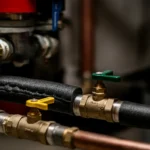
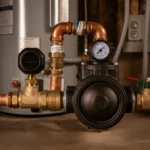
A thermal expansion tank is a critical safety component in a closed plumbing system, designed to absorb excess water volume created when heating causes thermal expansion. Its core is a rubber expansion tank bladder that separates the system water from a pre-charged air cushion. When this bladder fails or the air charge is lost, the tank becomes waterlogged and can no longer perform its function, leading to dangerous pressure spikes, a leaking Temperature and Pressure (T&P) relief valve, and potential system damage.
Symptoms of a Failed Bladder or Lost Charge
- T&P Valve Dripping or Leaking: The most common indicator. As pressure builds with no cushion, it exceeds the valve’s rating (typically 150 PSI), causing it to open and discharge water.
- Erratic or Excessively High Water Pressure: You may hear water hammer (banging pipes) or notice pressure fluctuations at fixtures.
- A “Waterlogged” Tank: The tank feels full and heavy throughout, with no “air side” when tapped. A functioning tank will sound hollow at the top.
- Short-Cycling Water Heater: The pressure increase can cause the heater’s high-limit switch to trip prematurely.
Technical Deep Dive: Step-by-Step Testing and Replacement
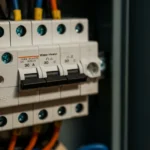
Follow this systematic procedure to diagnose and resolve a failed expansion tank bladder issue. Always perform the Safety Warning first: Turn off the power to the electric water heater at the breaker panel, or shut off the gas supply to a gas heater. Shut off the cold water supply to the water heater. Relieve pressure by opening a hot water faucet and the T&P valve lever.
Step 1: Initial Physical Inspection
- Tap Test: Using a small metal object (e.g., a wrench), gently tap the top and bottom of the expansion tank. A functioning tank will sound hollow/dead at the top (air side) and solid at the bottom (water side). A completely solid sound indicates it’s waterlogged.
- Weight Check: Attempt to lift the tank. A waterlogged tank will be significantly heavier than its dry weight.
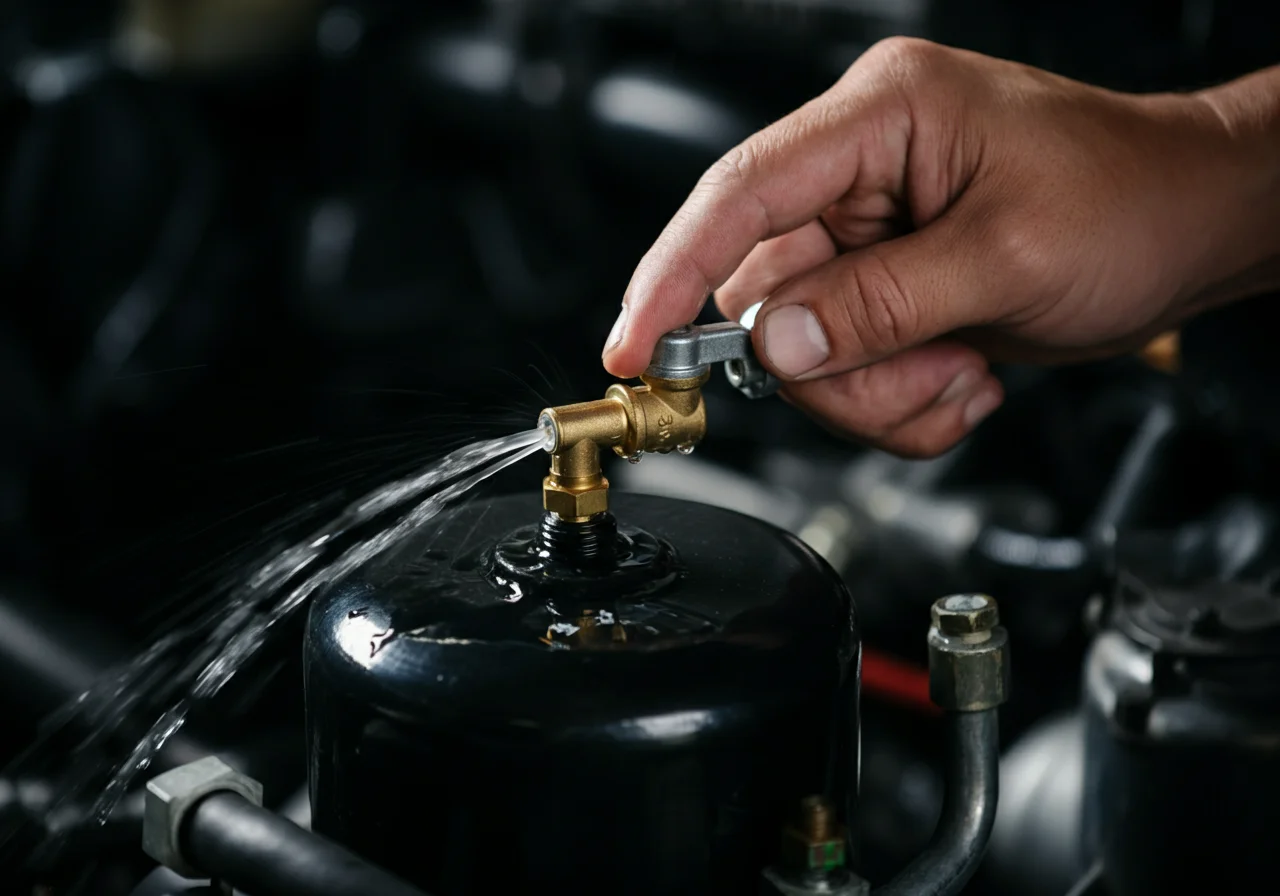
- Check the Schrader Valve: Locate the air valve (identical to a tire valve) on the tank’s end. Press the center pin. If water streams out, the bladder has ruptured and the tank must be replaced.
Step 2: Pressure Testing with a Gauge
This is the definitive test for a lost air charge.
- Tool: Use a standard tire pressure gauge or a dedicated Ridgid or Milwaukee digital air pressure gauge for accuracy.
- Procedure:
- Ensure the system water pressure is zero (water supply off, faucet open).
- Attach the gauge to the tank’s Schrader valve.
- Read the pressure. It must match the system’s static water pressure. For example, if your home’s incoming pressure is 60 PSI, the tank’s air charge should be pre-set to 60 PSI (or slightly less, per manufacturer specs).
- Diagnosis: If the gauge reads 0 PSI or significantly below system pressure, the air charge is lost. If you cannot get a reading because the valve releases water, the bladder has failed.
Step 3: Recharging or Replacing the Tank
- Recharging (If Bladder is Intact): If only the air charge is low, use a bicycle pump or small air compressor to recharge the tank to the required PSI. Remember: Water must be drained from the tank side for this to work.
- Replacement (If Bladder is Failed): This is the most common resolution.
- Drain the failed tank completely.
- Disconnect it from the piping using appropriate wrenches (e.g., a Ridgid aluminum pipe wrench).
- Install the new tank, ensuring it is supported properly (a tank bracket is often required by code).
- Pre-charge the new tank with air to match your system’s static pressure before opening the water supply valve.
- Open the water supply, purge air from the tank side of the system, and restore power/gas to the water heater.
Code & Compliance
Adherence to plumbing codes is not optional; it’s a matter of system safety and legality.
- International Plumbing Code (IPC) P2903.4: Mandates a thermal expansion tank or other approved device be installed in a closed water system where pressure-reducing valves, check valves, or backflow preventers are installed on the supply. This directly addresses the root cause of the pressure spike that leads to T&P valve leaking.
- Uniform Plumbing Code (UPC) 608.3: Similarly requires protection against thermal expansion pressure buildup.
- ASSE 1017 / ANSI Z21.22: These are the standards governing T&P relief valves. A leaking T&P valve is a symptom, but the underlying cause (excess pressure from a failed expansion tank) must be corrected. Simply replacing the T&P valve is a code violation if the expansion control issue is not resolved.
- OSHA & NEC (Electrical Safety): Always verify power is locked out before working near an electric water heater to prevent shock hazard.
Toolbox
Using the right professional-grade tools ensures accuracy and safety.
| Tool | Purpose | Example Brands |
|---|---|---|
| Digital Air Pressure Gauge | Accurately measure tank pre-charge and system water pressure. | Milwaukee, Jaco |
| Pipe Wrench | For disconnecting and installing tanks and fittings. | Ridgid Aluminum |
| Multimeter | To confirm power is OFF at an electric water heater. Set to Volts AC. | Fluke |
| Water Pressure Gauge | To determine home’s static water pressure for proper tank pre-charge. | Watts, Ridgid |
External Reference
For a definitive engineering explanation of thermal expansion and the function of expansion control devices, consult the foundational resource from the International Association of Plumbing and Mechanical Officials (IAPMO), the publishers of the Uniform Plumbing Code.
IAPMO White Paper on Thermal Expansion in Plumbing Systems (PDF)
Final Safety & System Check
After servicing or replacing the expansion tank, restore the system and monitor it closely. Turn the water and power/gas back on. Allow the water heater to complete a full heating cycle. Check the new tank and all connections for leaks. Verify the T&P valve is no longer weeping. Finally, use your pressure gauge to confirm system pressure remains stable and within normal limits (typically 40-80 PSI). A failed expansion tank bladder is a system-critical fault; proper diagnosis and correction protect your plumbing infrastructure from catastrophic pressure damage.