Close Quarters Press
The Diagnosis: What is a Close Quarters Press?
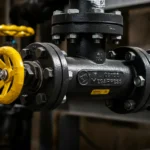
A Close Quarters Press is a specialized tool system designed for installing press-fit pipe connections in confined areas where a standard press tool cannot physically fit or achieve the necessary jaw alignment. This is a critical capability for professional plumbers and HVAC technicians working in tight spaces like wall cavities, between floor joists, or against structural elements. The system typically consists of a compact or articulated actuator and a suite of offset rings and jaws that allow the pressing force to be applied at an angle or from a perpendicular position relative to the pipe.
Technical Deep Dive: System Components & Procedure
Successfully executing a press in a tight space requires the correct combination of tool components and a methodical approach. Here is the step-by-step process.
1. System Assessment and Tool Selection
- Identify the Constraint: Measure the available clearance around the fitting. The limiting factor is often the distance from the fitting centerline to the wall or joist.
- Select the Actuator: Use a compact head press tool (e.g., Milwaukee M12 FORCE Logic, Ridgid RP 350) or a remote head system connected via a hydraulic hose. These provide the power in a smaller envelope.
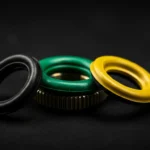
- Choose the Correct Jaws and Rings: This is the core of the close quarters press. Standard jaws may not fit. You will need:
- Offset Press Rings/Heads: These are angled or stepped rings that position the pressing surface away from the tool’s head, allowing it to clear obstructions.
- Side-Loading or 90-Degree Jaws: Some systems feature jaws that pivot or are designed to engage the fitting from the side, rather than directly in line with the tool.
2. Preparation and Dry Fit
- Cut the pipe square using a dedicated tubing cutter (e.g., Ridgid 10335) to ensure a proper seal.
- Deburr the pipe ID and OD thoroughly. Any sharp edge can compromise the O-ring seal inside the press fitting.
- Mark the pipe insertion depth according to the fitting manufacturer’s specifications.
- Conduct a dry fit with the selected offset ring and jaws without pressing. Ensure the tool can fully engage the fitting and that the jaws are square to the fitting collar.
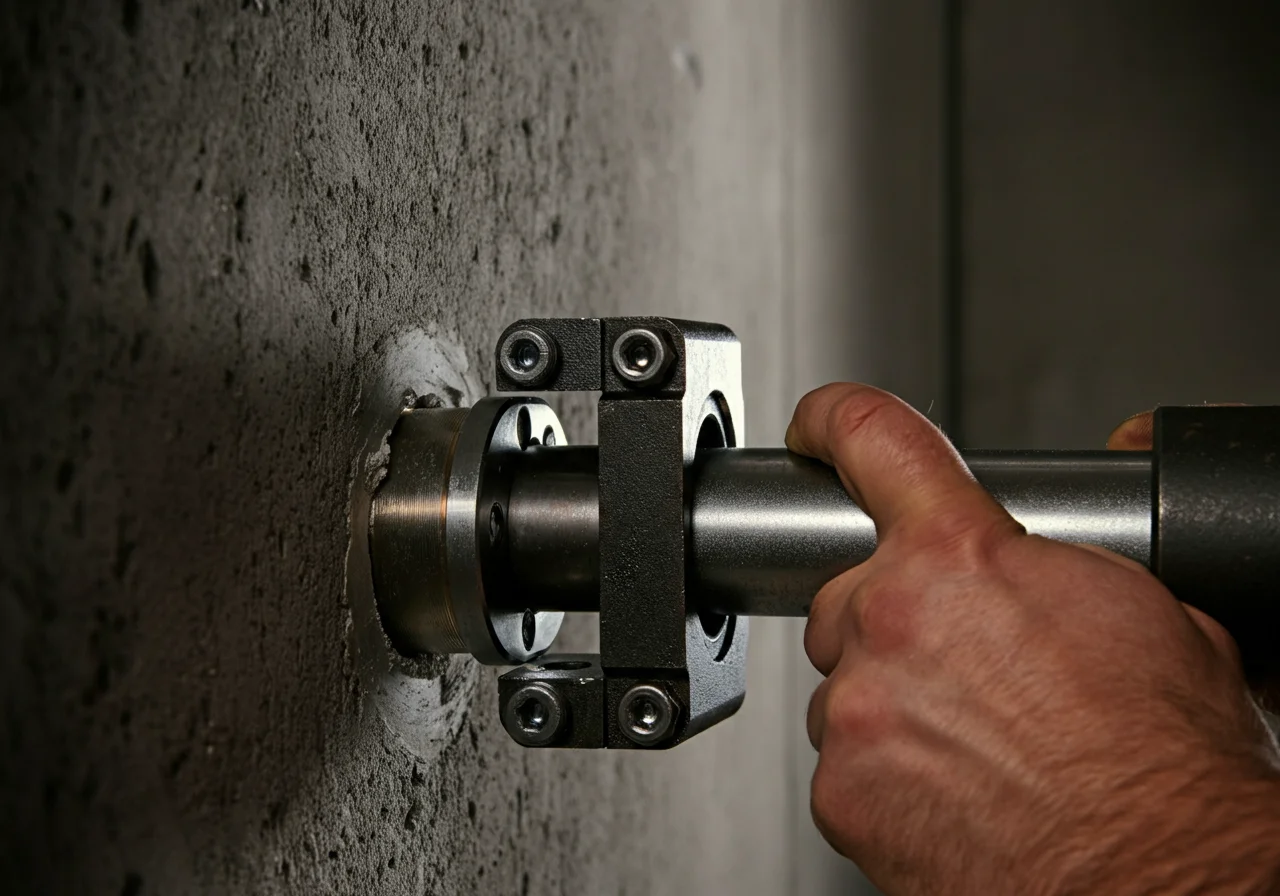
3. The Pressing Operation
- Firmly seat the pipe into the fitting, verifying your depth mark.
- Position the tool with the offset rings installed. You may need to hold the tool at an angle to the pipe run.
- Activate the press tool. The tool will apply thousands of PSI to radially compress the fitting’s stainless-steel collar onto the pipe, creating a permanent, sealed connection.
- Listen for the completion indicator (a beep or hydraulic release sound) and visually inspect the jaw indentation on the fitting collar. It should be uniform and deep.
4. Post-Installation Verification
- Before pressurizing the system, perform a visual inspection of all pressed connections.
- During pressure test, check for leaks at every connection. A properly pressed joint in a tight space is as reliable as one made in the open.
Code & Compliance
Using a close quarters press does not alter code requirements for the piping system itself. Compliance is non-negotiable.
- IPC/UPC: The press-fit connection method must be listed and approved for the specific pipe material (e.g., ASTM A 53, A 106, or B 88 copper; ASTM A 513 carbon steel; stainless steel). The installation must follow the manufacturer’s published instructions (IFGS/IM), which are often referenced by code. (Ref: International Plumbing Code (IPC) Chapter 6, Uniform Plumbing Code (UPC) Chapter 6).
- NEC (for Piping Near Electrical): When working in joist bays or walls, maintain proper separation from electrical cables and boxes as per National Electrical Code requirements for mechanical protection.
- OSHA: General duty clause applies. Using the correct specialized tool for the task, like offset rings, is part of providing proper equipment and ensuring a safe workplace.
Toolbox: Essential Gear for Tight Spaces
Having the right equipment is paramount. Do not attempt to modify standard jaws or use improper leverage.
| Tool Type | Purpose | Example Brands/Models |
|---|---|---|
| Compact Press Tool | Provides pressing force in a smaller head profile. | Milwaukee M12 FORCE Logic, Viega Prestabo Tool |
| Offset Ring/Head Kit | Enables jaw engagement when tool head cannot align directly with fitting. | Ridgid Offset Press Head Kits, Propress X-Close Adapters |
| Multi-Angle or Gooseneck Jaws | Allows pressing from a perpendicular or angled approach. | Viega Sanpress Inline Jaws, RLS Flex-Head Adapters |
| High-Quality Tubing Cutter | Ensures a square, burr-free cut in confined areas. | Ridgid 10335-S, Reed TC-200 |
| Diagnostic Tool | For verifying system integrity after press. | Fluke 116 HVAC Multimeter (for electrical checks on related equipment) |
Safety Warning & Best Practices
Best Practice Tip: Maintain a detailed log of which offset ring or jaw configuration was used for specific fitting types and space constraints. This builds a valuable personal reference guide for future close quarters press challenges and increases efficiency.
External Reference
For definitive, manufacturer-specific instructions on tool use, ring selection, and fitting compatibility—which is essential for maintaining system warranties and code compliance—always consult the official tool manual. As an example, see the technical resource library from a leading press system manufacturer:
Viega Technical Information & Manuals.