Cold Water Sandwich Fix
The Diagnosis: What is a Cold Water Sandwich?
A Cold Water Sandwich is a specific, frustrating phenomenon in modern plumbing systems, particularly those using tankless water heaters. It describes the uncomfortable burst of cold water that occurs between two uses of hot water in quick succession, such as when pausing during a shower. This is not a simple “waiting for hot water” issue; it’s a thermal mixing event caused by residual cold water in the heat exchanger being pushed out before the newly heated water arrives.
Technical Deep Dive: The Root Causes and Step-by-Step Fixes
The core issue stems from the fundamental operation of a tankless unit. When a hot water tap closes, a small volume of water remains inside the unit’s heat exchanger. Without a storage tank to maintain temperature, this water cools rapidly. Upon the next demand, this cooled water is pushed out first, creating the “sandwich.” The solution involves managing water volume, temperature, and flow.
Primary Fix: Installing a Dedicated Recirculation System
This is the most effective professional solution. A recirculation pump creates a continuous hot water loop, ensuring hot water is always available at the fixture. This eliminates the standby cooling that causes the sandwich.
- Step 1: System Design. Decide between a dedicated return line system (most efficient, requires new piping) or a under-sink crossover valve system (uses existing cold line as a return, easier retrofit).
- Step 2: Pump Selection & Installation. Install a compatible, low-wattage recirculation pump (e.g., Grundfos, Taco) on the hot water line, typically at the farthest fixture or near the heater. For tankless systems, a pump with a built-in or external control is mandatory.
- Step 3: Integration with Tankless Heater. Connect the pump’s controls to the tankless unit’s internal contacts or use an external timer/thermostat. Critical: The pump must activate the tankless heater’s flow sensor to fire the burner. Never let the pump circulate water through an inactive heater, as it will create a cold loop.
- Step 4: Balancing & Testing. Adjust the pump timer for occupancy patterns (e.g., on during morning/evening) and verify at fixtures that hot water is immediate and the cold sandwich is eliminated.
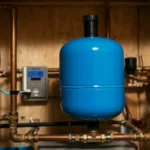
Alternative/Supporting Fix: Installing a Small Buffer Tank
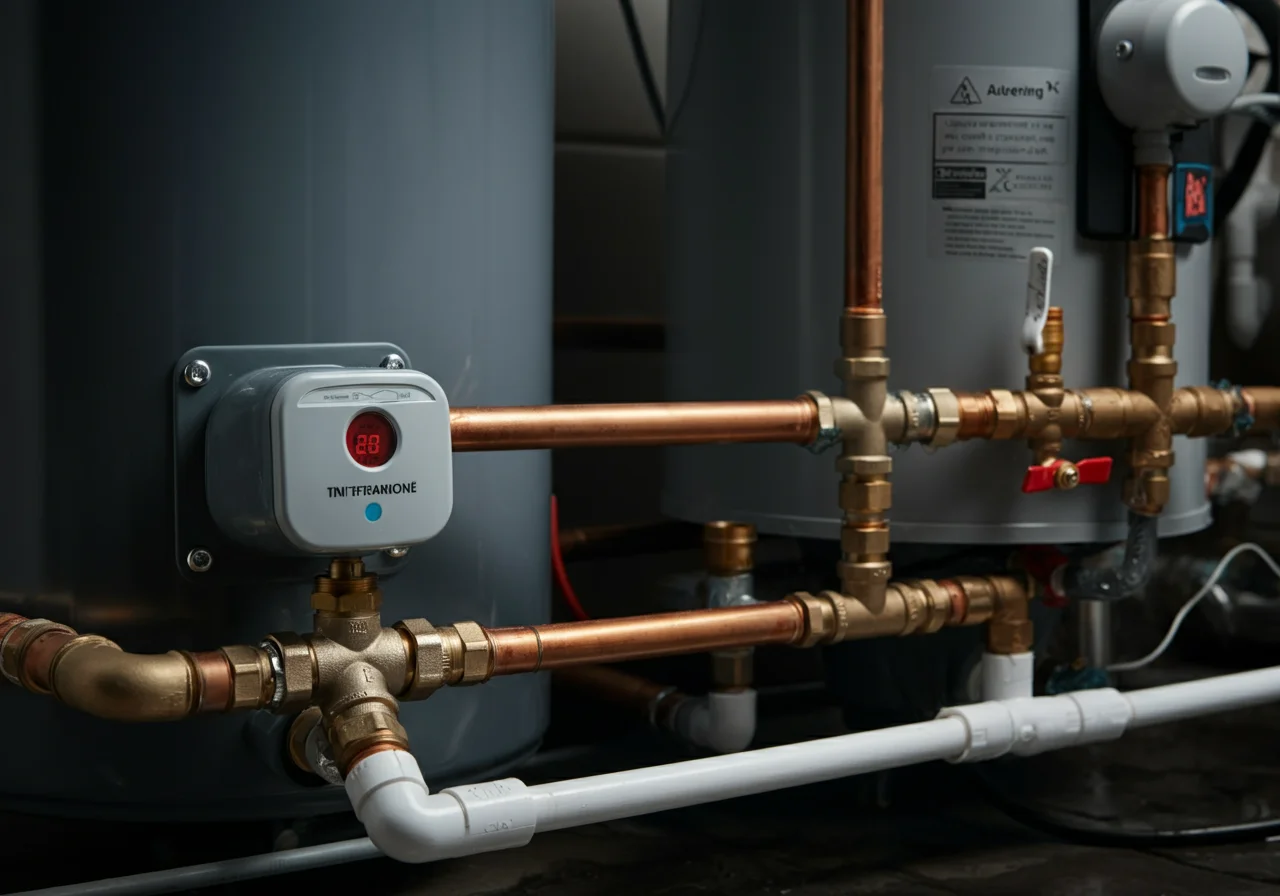
For systems where a full recirc loop is impractical, a small (2-5 gallon) insulated buffer tank can be installed downstream of the tankless heater.
- Step 1: Tank Placement. Install the tank directly after the tankless heater’s hot water outlet.
- Step 2: Piping Configuration. This acts as a mini-reservoir, absorbing the cooled volume from the heat exchanger and providing a small buffer of consistently hot water to prevent the sandwich effect during short pauses.
System Adjustment: Minimizing Internal Volume
Reduce the amount of water that can cool down inside the unit.
- Ensure the tankless heater is mounted as close as possible to high-use fixtures (like the master shower) to shorten the hot water line.
- During installation, use the shortest possible gas and water connections to the unit’s internal manifold.
Code & Compliance
All modifications must adhere to local plumbing and mechanical codes, which are typically based on the International Plumbing Code (IPC) or Uniform Plumbing Code (UPC).
- IPC P2904.6 (Recirculating Systems): Requires recirculation pumps to be equipped with an automatic time switch or other control to limit operation. This is essential for energy efficiency with tankless heaters.
- NEC Article 422 (Appliances): Governs electrical connections for the recirculation pump. All wiring must be to code, with proper GFCI protection if located in wet areas.
- Manufacturer Instructions: Per code (IPC 301.3), installation must follow the tankless and pump manufacturer’s listed instructions. Unauthorized modifications can void warranties and create safety hazards.
Toolbox
Having the right tools ensures a proper, leak-free installation.
- Pipe Work: Propane torch for soldering copper, or a Ridgid threader for iron pipe. A quality tubing cutter is essential.
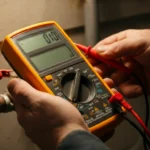
- Electrical: Non-contact voltage tester and a multimeter (like a Fluke 116) for verifying power and continuity at pump connections.
- General: Adjustable wrenches, pipe wrenches, and a calibrated pipe thermometer to verify final system temperatures.
Safety Warning
Before any work, SHUT OFF the following: 1) The main water supply to the tankless heater. 2) The electrical disconnect or circuit breaker for both the tankless heater and the pump. 3) The gas supply valve to the tankless heater if performing any work on gas lines. Relieve all water pressure by opening fixtures. Failure to do so can result in severe injury, electrocution, or property damage. Consult a licensed plumber or electrician if you are not fully qualified.
External Reference
For a foundational understanding of the physics and standards behind hot water delivery systems, refer to the U.S. Department of Energy’s resource on water heating: DOE Energy Saver: Water Heating. This provides context for system efficiency requirements that your fix must maintain.