Copper Cutter Wheels
The Diagnosis: Precision Cutting Demands the Correct Wheel
Using a dull or incorrect copper cutter wheel is a primary cause of deformed tubing, excessive burrs, and premature tool wear. For professional plumbers and HVAC technicians, selecting the right replacement wheel is not a generic task—it is a critical decision based on tubing type, wall thickness, and desired finish. This guide provides the technical specifications and procedures for choosing and using wheels for Type K, L, and M copper, with specific attention to burr removal and cutting harder materials like stainless steel.
Technical Deep Dive: Wheel Selection & Cutting Procedure
The cutting wheel, or roller wheel, is the heart of a tubing cutter. Its geometry and material are engineered for specific applications. Using the wrong wheel can compromise joint integrity.
Step 1: Identify Your Tubing Type and Diameter
- Type K Copper (Heavy Wall): Used for underground and main water lines. Requires a wheel designed for thicker walls to prevent chattering and excessive force.
- Type L Copper (Medium Wall): Standard for domestic water supply. The most common application for general-purpose wheels.
- Type M Copper (Light Wall): Used for low-pressure and drain applications. A sharp, fine-edged wheel is essential to avoid crushing the thinner wall.
- Stainless Steel Tubing: Requires a hardened, carbide-grade wheel. A standard copper wheel will dull instantly and gall the stainless surface.
Step 2: Select the Correct Wheel Specification
Wheels are not universal. Check the manufacturer’s chart for your specific cutter model (e.g., Ridgid 103, Milwaukee 2475). Key specifications include:
| Tubing Material | Wheel Material/Hardness | Wheel Edge Profile | Primary Use Case |
|---|---|---|---|
| Copper Types K, L, M | High-Carbon Tool Steel | Sharp, V-Angle (Standard) | General plumbing, clean cuts on soft copper. |
| Hard Copper, Thin-Wall | Hardened Alloy Steel | Acute Angle, Fine Edge | Type M, refrigeration tubing, minimizes burr. |
| Stainless Steel, Chrome-Plated | Carbide-Tipped or Cobalt Alloy | Reinforced, Aggressive Profile | Sanitary lines, fuel lines, hardened tubing. |
Step 3: Execute the Cut and Manage the Burr
- Tool Setup: Secure the tubing. Align the wheel perpendicular to the tube. Adjust the cutter so the wheel makes firm contact but does not deform the tube.
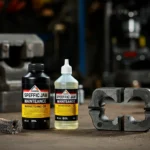
- The Cutting Action: Rotate the cutter smoothly, tightening the knob 1/4 turn every 1-2 rotations. For stainless steel, use even more gradual pressure and a cutting oil formulated for stainless.
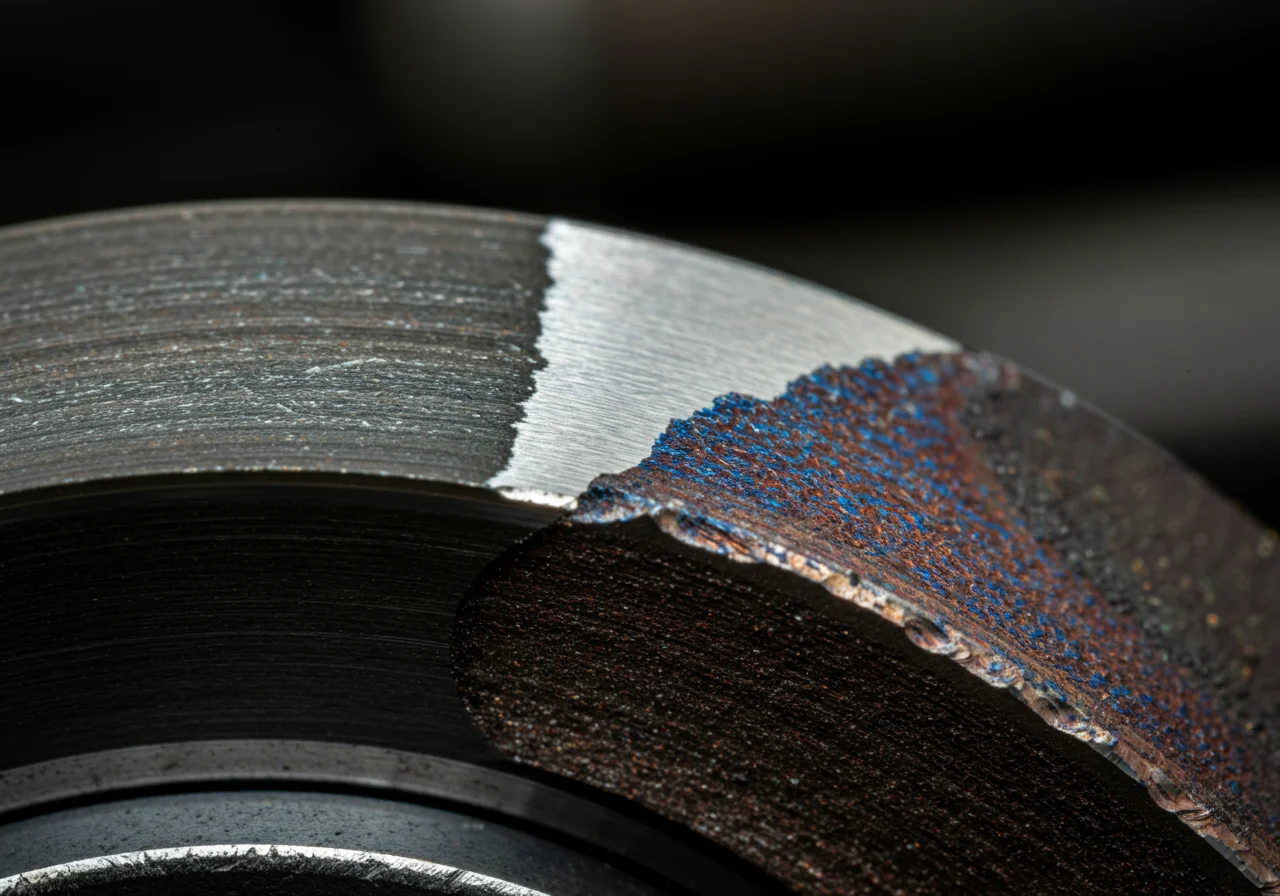
- Burr Removal (Mandatory): The internal burr created by the wheel restricts flow and causes turbulence. Use a dedicated deburring tool. Insert the tool into the cut end and rotate 2-3 times with moderate pressure. The goal is a smooth, chamfered edge, not just removing the lip.
- Inspection: After burr removal, run a finger inside the tube. It should feel smooth. Visually check for an even chamfer.
Code & Compliance: Why the Details Matter
While plumbing codes do not specify brand of cutter wheel, they mandate the quality of the cut and joint preparation.
- IPC 2021, Section 307.2 (Joint Preparation): “Surfaces to be joined shall be clear of any coating, dirt, grease, or other foreign material and shall be clean and dry.” An improperly cut tube with a ragged edge or residual burr compromises this requirement.
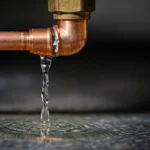
- UPC 2021, Section 604.6 (Burrs): Implicitly requires the removal of internal burrs by stating that “all pipe and tubing ends shall be cut and reamed to full bore.” Failure to ream/deburr creates a restriction, reducing flow and pressure.
- Hydronic Systems & Refrigeration (ACR Tubing): For HVAC/R work, leaving an internal burr can break loose and travel into a compressor or control valve, causing catastrophic failure. Industry best practices require meticulous deburring.
The Professional Toolbox
Do not compromise on the tool that prepares your joint. Invest in quality.
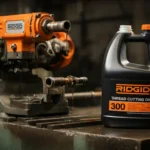
- Tubing Cutters: Use a reliable, adjustable model from brands like Ridgid or Milwaukee. Their replacement parts are readily available.
- Deburring/Reaming Tools: A combination tool with a rotating head for the inside and a flat blade for the outside is efficient. For high-volume work, a dedicated internal reamer saves time.
- Measurement: A digital caliper (e.g., Fluke or equivalent) can verify wall thickness to confirm tubing type if it is not stamped.
External Reference for Technical Standards
For definitive specifications on copper tubing dimensions and types (K, L, M), which directly inform wheel selection, consult the standard published by the ASTM International. This is the material standard referenced by the plumbing codes.
ASTM B88 – Standard Specification for Seamless Copper Water Tube
Conclusion: Precision from Start to Finish
A perfect solder, press, or flare joint starts with a perfect cut. Treat copper cutter wheels as a consumable precision component. Match the wheel to the material—standard steel for soft copper, carbide for stainless steel. Never skip the critical step of burr removal. By adhering to these technical guidelines and code-backed practices, you ensure system integrity, performance, and professional results on every job.