Mixing Valve Adjustment
The Diagnosis: Precise Control Over Domestic Hot Water Temperature
A mixing valve adjustment is a critical calibration procedure to set the safe, consistent output temperature of a plumbing system’s hot water. This guide details the process for thermostatic mixing valves (TMVs), which blend hot and cold water to a pre-set temperature, providing essential scald protection and stabilizing temperature for appliances like tankless water heaters. Incorrect adjustment can lead to legionella risk, thermal shock, or severe burns.
Technical Deep Dive: Step-by-Step Adjustment Procedure
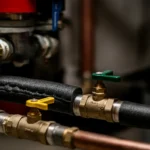
Thermostatic mixing valves contain a wax or bi-metal element that expands or contracts with temperature changes, mechanically adjusting the port openings for hot and cold water. Adjustment is performed via a calibrated knob, screw, or dial, often under a protective cap.
Pre-Adjustment Protocol
- Safety First: Shut off the electrical breaker to the water heater. For tankless units, also power down the unit’s dedicated disconnect. Shut off the cold water inlet to the heater.
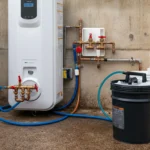
- Identify the Valve: Locate the TMV. It is typically installed at the water heater outlet (for master tempering) or at a point-of-use (e.g., under a sink).
- Gather Tools: You will need a thermometer (infrared or probe-type), a screwdriver (flat-head or Phillips as required), and an adjustable wrench. Use quality tools from brands like Fluke for thermometers or Ridgid for wrenches to ensure accuracy and durability.
- Establish Baseline: Turn on a hot water faucet closest to the valve. Use your thermometer to measure the current mixed output temperature. Allow the water to run until the temperature stabilizes.
Adjustment Execution
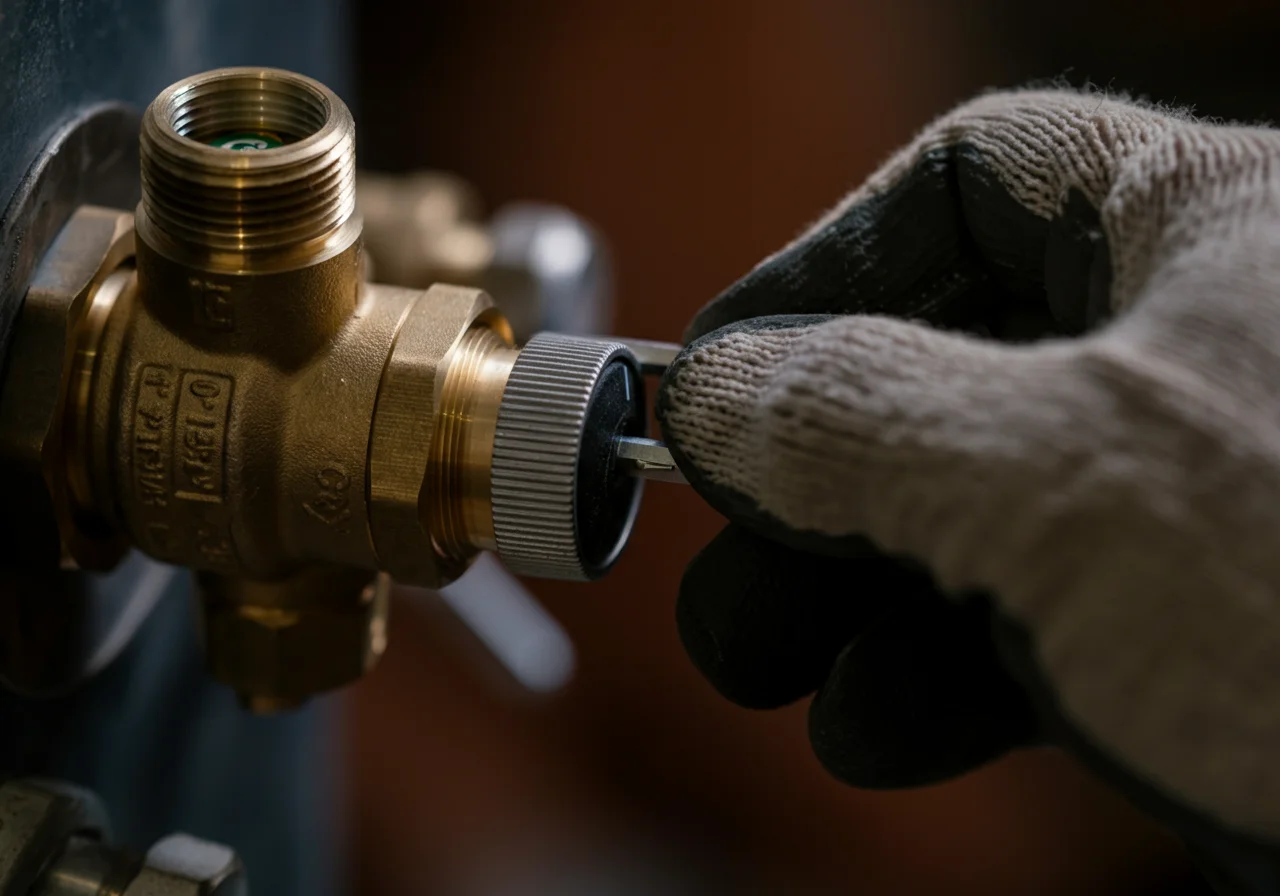
- Access the Adjuster: Remove the valve’s plastic or metal protective cap. You may find a locking screw or a tamper-resistant cover requiring a special key (common in commercial settings).
- Understand the Mechanism: Most valves turn clockwise to increase temperature (allowing more hot water) and counter-clockwise to decrease temperature (allowing more cold water). Some use a set-screw that must be loosened before turning a dial.
- Make the Adjustment: Using the correct tool, turn the adjuster incrementally—no more than 1/8 of a turn at a time. Do not force it.
- Test and Measure: After each minor adjustment, restore water flow and let the hot water run at the test faucet for at least one minute to stabilize. Measure the new output temperature with your thermometer.
- Repeat Until Target is Reached: Continue this process until the desired output temperature is achieved. The target for most residential applications is 120°F (49°C) to balance scald protection and legionella prevention.
- Secure the Setting: Once set, replace any locking screw and snap the protective cap back into place. This prevents unauthorized or accidental tampering.
Code & Compliance: The Legal Framework for Safety
Mixing valve installation and adjustment is not a suggestion—it’s a code-mandated requirement for safety.
- Scald Protection & IPC/UPC: Both the International Plumbing Code (IPC) and Uniform Plumbing Code (UPC) require that hot water delivered to bathing fixtures (tubs, showers) not exceed 120°F (49°C). IPC Section 424.3 and UPC Section 410.5 explicitly state this limit. A thermostatic mixing valve is the primary device used to comply.
- Legionella Management: While 120°F controls scalding, the CDC notes that legionella bacteria can grow at temperatures as high as 122°F. Some codes, like in healthcare, may require periodic thermal disinfection at higher temperatures, which a TMV safely allows at the heater while protecting downstream users.
- Tankless Heater Specifics: Many local amendments to the National Electrical Code (NEC) and plumbing codes require a TMV on the outlet of a tankless water heater. This is because their high modulation rates can cause outlet temperature to “overshoot” during low-flow conditions, creating a momentary scald hazard.
- OSHA Considerations: In commercial settings, OSHA’s General Duty Clause can be invoked if a lack of temperature-controlling devices leads to employee or customer injury.
Toolbox: Essential Gear for the Job
| Tool | Purpose | Pro-Grade Example |
|---|---|---|
| Digital Thermometer | Accurate measurement of water temperature at the faucet. Probe or infrared models work. | Fluke 62 Max+ Infrared Thermometer |
| Adjustable Wrench | For removing access covers or adjusting locking nuts on valve fittings. | Ridgid 31075 Aluminum Adjustable Wrench |
| Screwdriver Set | To remove tamper-resistant caps or adjust set-screws. A multi-bit driver is ideal. | Milwaukee 10-in-1 Fastback Screwdriver |
| Bucket & Towels | To catch water when bleeding lines or during testing. Essential for a clean, safe work area. | N/A |
Special Considerations: Scald Protection and Tankless Heaters
Integrating Scald Protection
The thermostatic mixing valve is the engineering solution to scald protection. Its internal element reacts in seconds to changes in incoming water temperature or pressure. If the cold supply fails, the valve should snap shut on the hot side entirely. When performing a mixing valve adjustment, you are directly setting the maximum safe delivery temperature. Always verify this safety feature after adjustment: with hot water flowing, simulate a cold water failure by slowly closing the cold inlet valve to the TMV. The output water flow should diminish to a trickle or stop within seconds.
Optimizing for Tankless Water Heaters
Tankless heaters present a unique challenge for temperature stability. During a mixing valve adjustment on a system with a tankless unit, consider these factors:
- Minimum Flow Rate: The tankless heater has a minimum flow rate to activate. Ensure your test faucet flow exceeds this rate to get an accurate, stable temperature reading during adjustment.
- Overshoot Mitigation: Set the TMV output temperature slightly below the tankless unit’s set point. For example, if the tankless is set to 125°F, set the TMV to 120°F. This creates a buffer for any heater overshoot.
- Recirculation Systems: If a recirc pump is used, the TMV is often installed on the return line. Adjustment must be done with the recirc pump running to simulate real system conditions.
Safety Warning
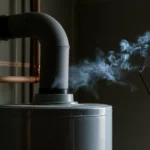
Failure to follow proper safety procedures can result in property damage, severe burns, or electrocution. Always confirm power is off at the breaker with a non-contact voltage tester before servicing any component near an electric water heater. For gas units, shut off the gas supply. Water in pipes can remain dangerously hot for a long time; open faucets to relieve pressure and cool lines before disconnecting any piping. If you are unsure about any step, consult a licensed plumbing professional.
External Reference
For a definitive technical resource on the principles of thermostatic operation and safety standards, refer to the ASSE 1016/1017 Performance Standard for TMVs listed by the American Society of Sanitary Engineering. This is the foundational standard referenced by plumbing codes.