Plumbers Putty vs Silicone
The Diagnosis: Choosing the Correct Sealant for Drain Flanges
The choice between plumbers putty vs silicone is a fundamental decision that directly impacts the longevity and integrity of a drain installation. Using the wrong sealant can lead to leaks, stains, and costly repairs. This guide provides a definitive, code-informed protocol for selecting and applying the correct sealant based on substrate material—specifically natural stone, plastic, and metal drain flanges—with a focus on creating a stain-free, watertight seal.
Technical Deep Dive: Application by Substrate Material
The core principle is that plumber’s putty remains malleable, while silicone cures into a flexible, adhesive seal. Your material dictates the choice.
1. For Natural Stone (Granite, Marble, Quartzite, Soapstone) & Porous Surfaces
Mandatory Choice: 100% Silicone Sealant. Plumber’s putty contains oils that will stain porous stone permanently.
- Step 1: Surface Prep. Clean the sink bowl and the underside of the stone countertop with isopropyl alcohol. Ensure both surfaces are completely dry.
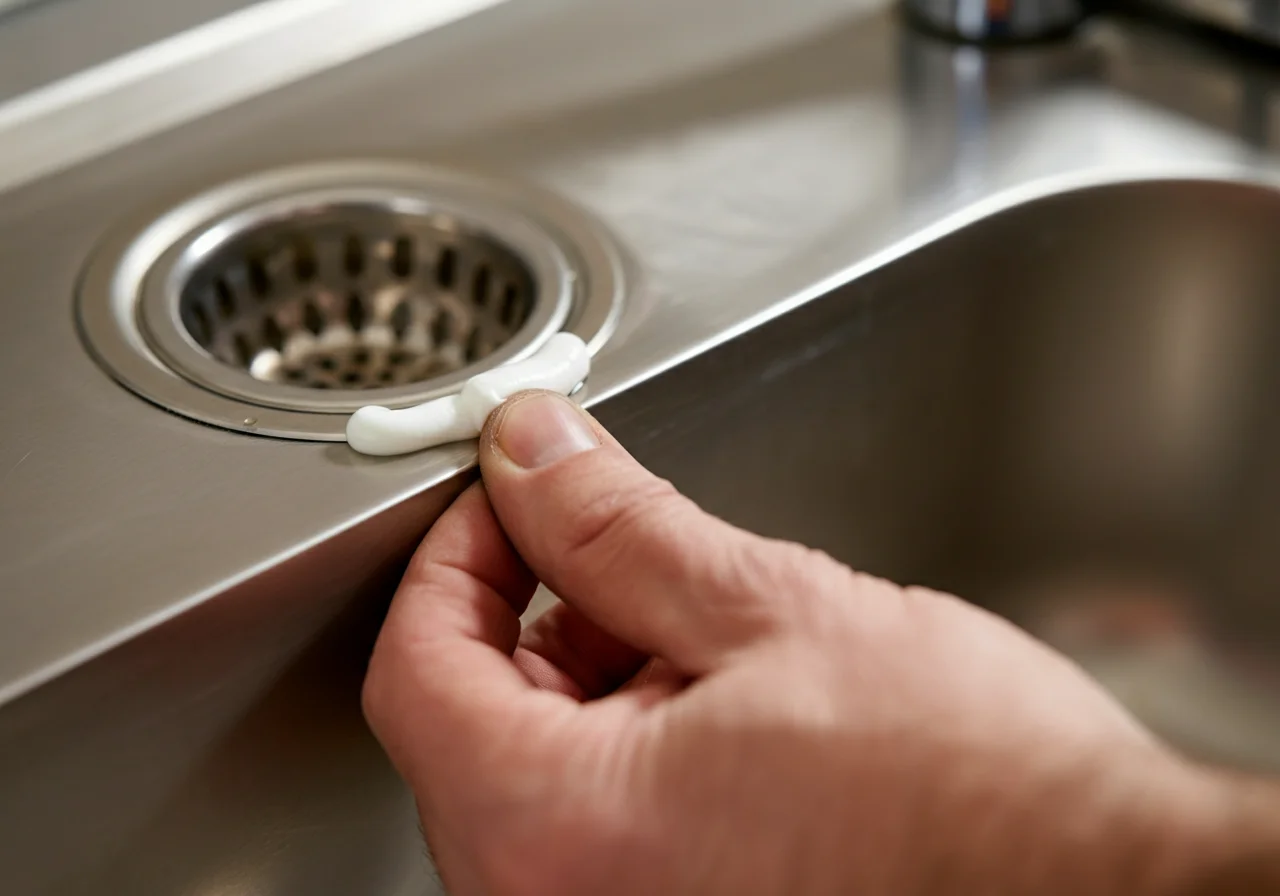
- Step 2: Apply Silicone. Run a continuous, 1/4-inch bead of 100% silicone (e.g., GE Advanced or Dow DAP) around the underside of the drain flange. Do not apply to the top.
- Step 3: Install & Tighten. Insert the drain assembly through the sink/stone. Hand-tighten the locknut from below, then use a Ridgid basin wrench or spud wrench to secure with 1/4 to 1/2 turn further. Excess silicone should ooze out evenly.
- Step 4: Cleanup & Cure. Immediately wipe away excess silicone from the visible top of the flange and from below with a plastic putty knife or your finger dipped in soapy water. Allow a full 24-hour cure time before running water.
2. For Plastic (ABS/PVC) & Composite Sinks
Preferred Choice: Plumber’s Putty. The non-adhesive, dough-like seal is ideal for most plastic drain bodies and allows for future disassembly without destructive force.
- Step 1: Knead Putty. Work a golf-ball-sized amount of putty in your hands until it’s warm, soft, and pliable.
- Step 2: Form the Gasket. Roll the putty into a rope about 1/4-inch thick. Place it around the underside of the metal drain flange, creating a continuous ring.
- Step 3: Install & Seat. Press the flange firmly into the drain hole. From below, install the gasket, rubber washer, and locknut. Tighten the locknut with channel-lock pliers or a Milwaukee M12 installation driver until the putty just begins to squeeze out uniformly. Do not overtighten, as this can crack plastic threads.
- Step 4: Trim Excess. Wipe away the extruded putty from around the flange top and bottom. A plastic scraper works well.
Exception: For some lightweight or flexible plastic basins, manufacturers may specify silicone to prevent stress cracking. Always check the manual.
3. For Metal (Stainless Steel, Cast Iron, Enameled) Sinks
Either Sealant is Acceptable, but each has a specific use-case.
- Use Plumber’s Putty for standard kitchen/bathroom sink drains where future service is likely. It provides a classic, reliable compression seal.
- Use 100% Silicone for drains on thin-gauge stainless steel or under-mount applications where adhesion to both the sink and countertop is required. Silicone also excels for fixtures subject to vibration or thermal flexing.
Code & Compliance: The Legal Backbone
While sealant choice is often a manufacturer or best-practice directive, plumbing codes govern the installation’s outcome.
- IPC (International Plumbing Code) §307.2 & UPC (Uniform Plumbing Code) §701.2: Joints and connections must be “gas-tight and water-tight.” Your sealant method must achieve this standard.
- IPC §405.5 / UPC §408.5: Requires overflow provisions for lavatories. Ensure your sealant application does not block the integrated overflow channel on a bathroom sink drain.
- General Principle: Codes defer to manufacturer instructions (IPC §301.5). If a stone countertop or sink manufacturer prohibits putty, you must follow that specification to maintain warranty and code compliance.
Toolbox: Essential Gear for a Professional Seal
Using the right tools ensures proper compression and prevents damage.
| Tool | Purpose | Example Brands |
|---|---|---|
| Basin Wrench / Spud Wrench | Properly tightening drain locknuts in confined spaces. | Ridgid, RectorSeal |
| Channel-Lock Pliers | Securing locknuts where a wrench won’t fit. Use with care on plastic. | Milwaukee, Knipex |
| Caulking Gun (Smooth Rod) | For controlled, drip-free silicone application. | Newborn, Cox |
| Multimeter (for safety) | Verifying power is OFF before working near garbage disposals or dishwashers. | Fluke, Klein Tools |
⚠️ Mandatory Safety Warning
Before starting any drain install: 1) SHUT OFF the water supply valves. 2) If disconnecting a garbage disposal or dishwasher, TURN OFF the circuit breaker at the main panel and VERIFY with a multimeter. 3) Wear safety glasses when working under the sink to protect from debris and dripping water.
Stain-Free Protocol: Protecting Vulnerable Materials
The “stain free” requirement is critical for porous materials and luxury finishes.
- Absolute Rule: Never use plumber’s putty on natural stone, unsealed wood, or certain composite materials. The oil migration is irreversible.
- Test First: On any unfamiliar material (e.g., a resin-based composite), apply a small dab of putty to a hidden area and leave it for 24 hours. Check for staining or discoloration.
- Use “Stain-Free” Labeled Putty with Caution: Some modern putties are marketed as non-staining. While improved, they are not guaranteed safe for all porous stone. For high-value stone, silicone remains the zero-risk choice.
External Reference for Technical Definitions
For a deeper understanding of the chemistry and standards behind sealants, the Wikipedia entry on Plumber’s Putty provides a useful overview of its composition and historical use, highlighting its oil-based nature.
Final Verdict: Plumbers Putty vs Silicone
- Use Plumber’s Putty for: Metal drains on standard sinks, most plastic/ABS drains, and any non-porous surface where future disassembly is desired. It’s a compression seal, not an adhesive.
- Use 100% Silicone for: All natural stone, porous surfaces, undermount sinks, thin-gauge metal, and when the manufacturer’s instructions require it. It provides a flexible, adhesive, and stain-free bond.
The correct choice in the plumbers putty vs silicone debate hinges on material compatibility, not convenience. Following this material-specific protocol ensures a leak-free, code-compliant, and professional drain install every time.