Power Vent Motor Noise
The Diagnosis: Identifying Grinding Bearing Noise in a Power Vent Motor
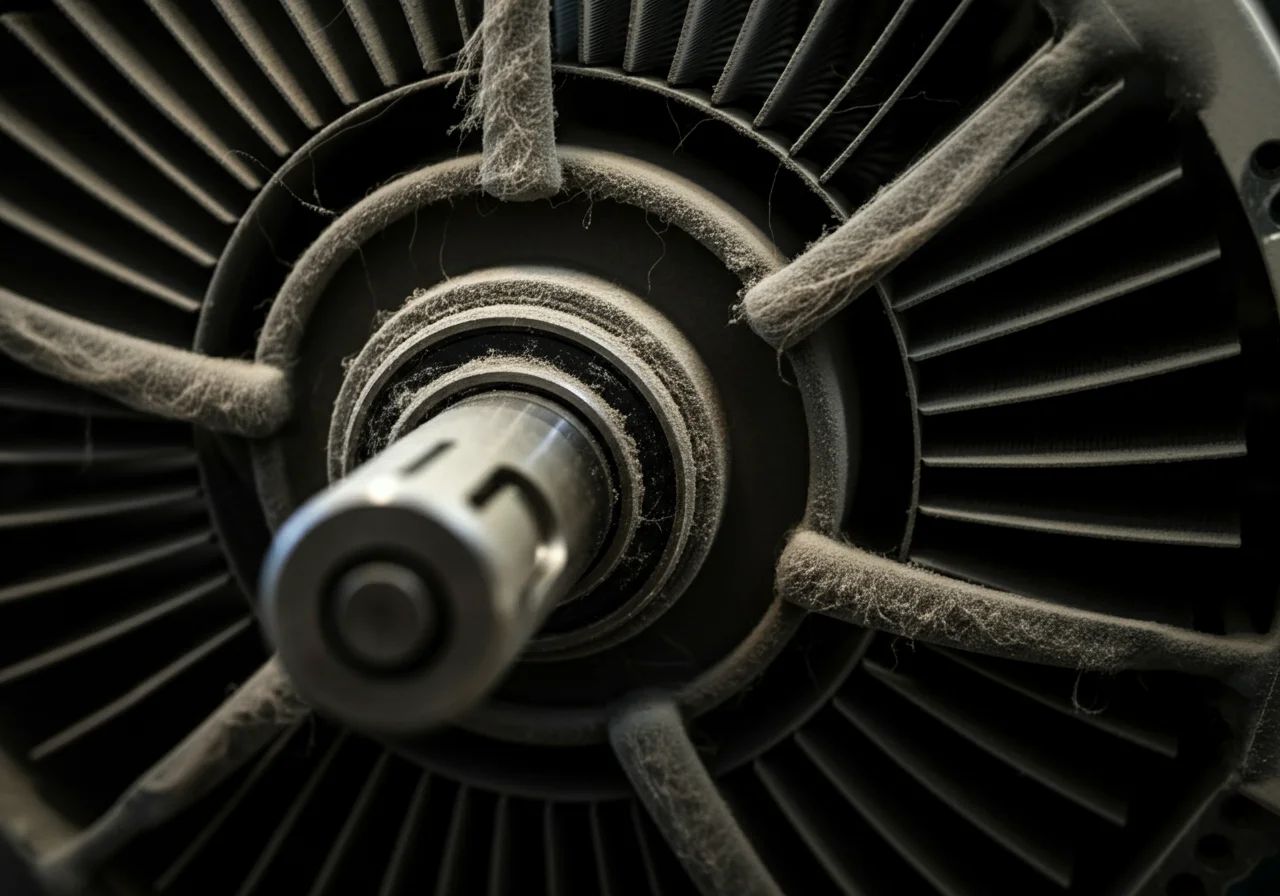
A grinding, rumbling, or screeching noise from your power-vented gas heater’s power vent motor (often called the inducer or combustion blower) is a critical failure symptom. This noise typically indicates advanced bearing wear or failure within the motor or its attached blower assembly. Ignoring this sound can lead to motor seizure, improper venting of combustion gases, and a complete system shutdown, creating a potential safety hazard.
Technical Deep Dive: Step-by-Step Diagnosis and Repair
Follow this systematic procedure to confirm bearing failure and determine the correct repair path. Always allow the appliance to cool completely before beginning.
Step 1: Safety Isolation and Initial Inspection
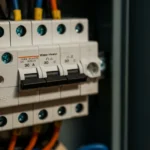
- Turn off the electrical power to the furnace or water heater at the main service panel. Use a non-contact voltage tester to confirm.
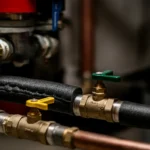
- Shut off the gas supply at the unit’s dedicated shutoff valve.
- Remove the unit’s access panel(s) to expose the power vent motor and blower assembly.
- Visually inspect the assembly for obvious damage: cracked housing, debris impingement on the wheel, or signs of oil leakage from motor bearing seals.
Step 2: Manual Rotation and Play Test
- With power confirmed OFF, manually rotate the inducer blower wheel. It should spin freely with minimal resistance and no grinding sensation.
- Grasp the wheel and attempt to move it axially (in/out) and radially (up/down, side-to-side). Any discernible play indicates worn bearings. A sealed motor bearing should have virtually zero play.
- Listen closely during rotation for any gritty, grating, or rumbling sounds.
Step 3: Operational Noise Confirmation (Briefly)
Warning: This step is for final confirmation only and should be performed with extreme caution for a very short duration.
- Reinstall the access panel (most units have an interlock switch).
- Restore electrical power only.
- Initiate a call for heat (e.g., turn up the thermostat). The inducer motor will start its pre-purge cycle.
- Listen for the grinding noise. Shut off power immediately after confirmation—do not allow the unit to attempt ignition.
Step 4: Disassembly and Bearing Assessment
If bearing failure is confirmed, the repair path is either motor replacement or, in rare cases, blower wheel replacement if the wheel shaft is damaged.
- Disconnect the motor wiring, noting the connections (take a photo).
- Unbolt the motor/blower assembly from the housing. This often involves removing a mounting plate or clamps.
- Separate the motor from the blower wheel. This usually requires a set screw or a special nut. Use penetrating oil if corroded.
- Inspect the wheel shaft for scoring or wear. A damaged shaft often mandates a complete assembly replacement.
Code & Compliance: Venting Integrity is Paramount
Repairing a power vent motor is not just about noise reduction; it’s a safety-critical function governed by code.
- International Fuel Gas Code (IFGC) & Manufacturer Specs: The inducer motor must provide the exact CFM (cubic feet per minute) and pressure rise specified by the appliance manufacturer to ensure complete combustion and proper venting of flue gases. A motor with failing bearings may not meet these specs.
- NEC (NFPA 70) Article 422: Governs the electrical connections and grounding of appliances. Any wiring modifications must maintain proper grounding and overcurrent protection.
- Critical Note: Never operate a power-vented appliance with a faulty inducer. This can lead to spillage of carbon monoxide (CO) into the living space. Post-repair, verify proper operation with a combustion analyzer or manometer per manufacturer instructions.
Toolbox: Essential Tools for the Job
Using quality tools ensures accurate diagnosis and safe repair.
| Tool | Purpose | Example Brands |
|---|---|---|
| Non-Contact Voltage Tester | To safely confirm power is OFF before working. | Fluke, Klein Tools |
| Multimeter | For advanced diagnostics (checking motor windings for opens/shorts). | Fluke, Klein Tools |
| Nut Drivers & Socket Set | For removing mounting hardware and set screws. | Milwaukee, DeWalt |
| Penetrating Oil (e.g., PB Blaster) | To loosen corroded set screws or mounting hardware. | NA |
Repair vs. Replace: For nearly all integrated power vent motor assemblies, the correct and most cost-effective repair is a direct OEM (Original Equipment Manufacturer) replacement of the entire motor/blower module. Attempting to press in new bearings is rarely feasible or reliable.
External Reference: Manufacturer Authority
Always defer to the specific technical data for your appliance. The manufacturer’s installation and service manual is the final authority for parts, procedures, and safety checks.
For a general technical overview of combustion blower function, you can review this resource from the U.S. Department of Energy:
DOE Guide to Furnace Efficiency.
Safety Warning
THIS IS A NON-NEGOTIABLE PROCEDURE: You MUST turn off the electrical power at the circuit breaker and shut off the gas supply valve before inspecting or servicing any component of a gas-fired appliance. Failure to do so can result in electric shock, fire, explosion, or carbon monoxide poisoning. If you are not confident in your ability to perform this diagnosis and repair safely, contact a licensed HVAC or plumbing professional immediately.