SharkBite vs Press
The Diagnosis: Defining the Fitting Technologies
The choice between SharkBite vs Press fittings represents a fundamental decision in modern plumbing, pitting the convenience of push-to-connect technology against the permanence and strength of professional press systems. While both eliminate soldering and threading, they serve distinct user bases and applications. This guide provides a technical deep dive to help tradespeople and advanced DIYers select the correct system based on application, code compliance, and long-term reliability.
Technical Deep Dive: System Components & Installation
Push-to-Connect (SharkBite-style) Fittings
These fittings use a mechanical grab-ring and O-ring seal system. Installation is tool-minimal but requires precise preparation.
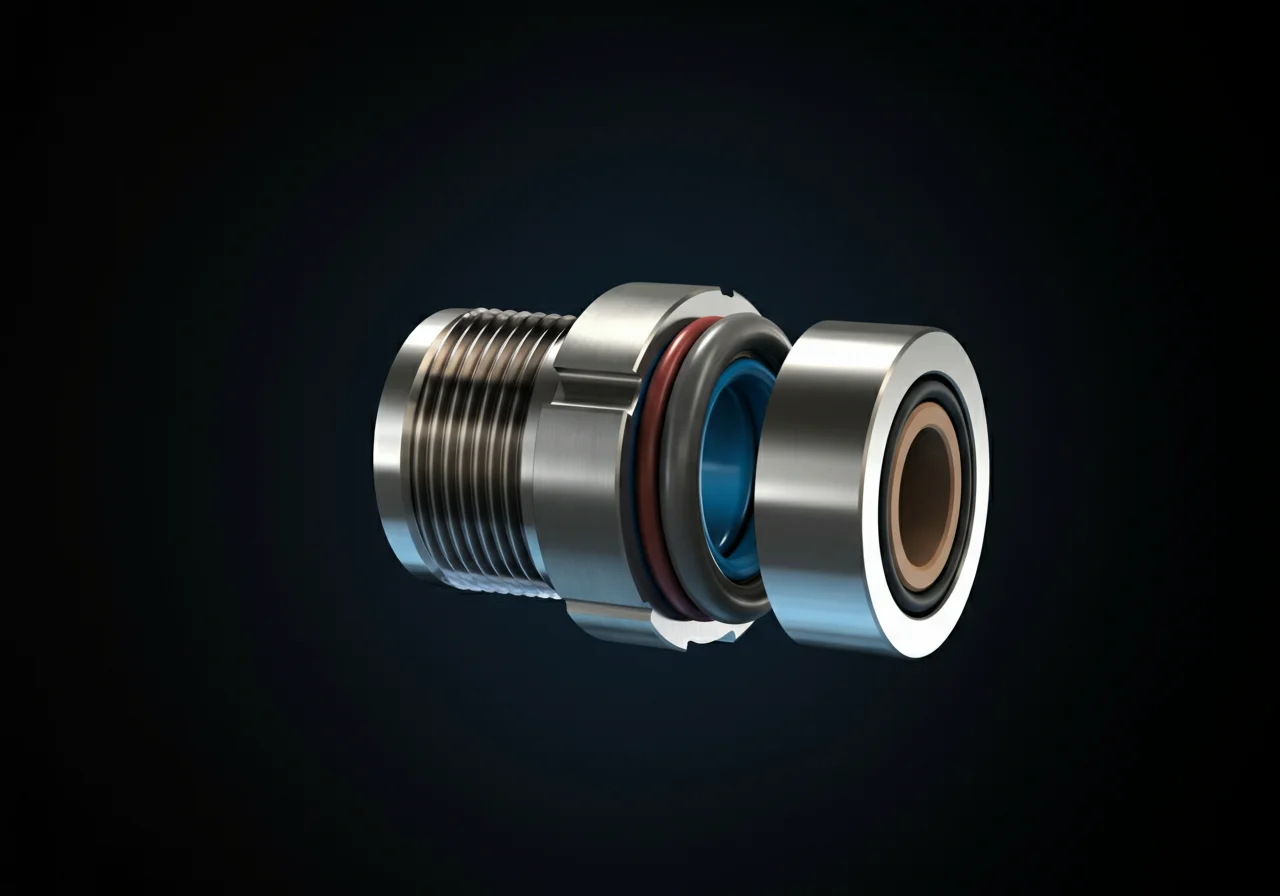
- Core Mechanism: A stainless-steel grab ring bites into the pipe, while a disassembly clip releases it. An EPDM O-ring provides the water seal.
- Installation Steps:
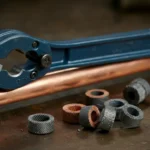
- De-burr & Mark: Use a proper tubing cutter (e.g., Ridgid) to make a square cut. De-burr inside and out. Mark the pipe to the fitting’s insertion depth.
- Inspect & Insert: Ensure the O-ring is intact and lubricated. Push the pipe straight into the fitting until it bottoms out. A visual and tactile check is required.
- Critical Tool: A go/no-go gauge is essential for verifying proper pipe insertion before pressurizing the system.
Professional Press Fitting Systems (e.g., Viega, Uponor)
These systems create a permanent, metallurgical cold weld using a calibrated press tool.
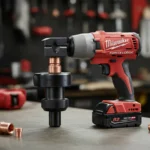
- Core Mechanism: A fitting with a pre-installed elastomeric seal is surrounded by a stainless-steel sleeve. A battery-powered press tool (Milwaukee M12 Force Logic) crimps the sleeve, compressing the seal and creating a uniform, leak-proof joint.
- Installation Steps:
- Prepare Pipe: Cut square, de-burr, and clean. For PEX, use a dedicated PEX cutter.
- Mark & Insert: Mark the pipe for insertion depth. Fully insert pipe into the fitting.
- Press the Joint: Position the correct jaw size over the fitting’s press indicator rings. Activate the tool. A complete press is confirmed when the jaw release mechanism engages and the indicator rings are fully visible.
- Critical Tool: A calibrated, brand-specific press tool and correct jaw sets are non-negotiable for a warranty-compliant installation.
Comparative Analysis: Reliability & Application
| Factor | Push-to-Connect (SharkBite) | Professional Press |
|---|---|---|
| Primary Use Case | Repairs, temporary lines, accessible locations, DIY projects. | New construction, whole-house repipes, concealed walls/floors, commercial projects. |
| Reliability & Longevity | High when installed perfectly in accessible areas. Reliability is dependent on the integrity of a single O-ring and the grab ring’s bite. Can be susceptible to premature failure from improper installation or pipe movement. | Exceptionally high. The press creates a uniform, permanent connection. The seal is protected within the crimped sleeve, making it highly resistant to vibration and stress. Considered equivalent to soldered joints for longevity. |
| Installation Speed | Extremely fast for single fittings. No power tools required. | Very fast, especially for multiple joints. Requires tool setup and battery management. |
| Cost Consideration | Higher per-fitting cost. Lower initial tool investment (gauge, cutter). | Lower per-fitting cost. High initial tool investment (press tool, jaws). |
| Reusability/Serviceability | Designed to be removable and reusable with the disassembly clip, though not indefinitely. | Permanent. Cannot be disassembled. Must be cut out for service. |
Code & Compliance
Both systems are approved for use, but with critical stipulations that affect professional application.
- Push-to-Connect (IPC/UPC): Approved for accessible locations (IPC 605.10, UPC 605.10). They are typically not permitted inside walls, under slabs, or in concealed spaces. Always verify local amendments, as some jurisdictions restrict their use further.
- Professional Press (IPC/UPC): Fully approved for both exposed and concealed installations (IPC 605.13). They are listed and certified for permanent systems. The installation must follow the manufacturer’s instructions using their specified tooling to maintain warranty and code compliance.
- Safety & OSHA: Press tool operation requires standard PPE (safety glasses). The primary safety concern for both systems is proper pressure testing (1.5x working pressure) before concealment.
Toolbox: Essential Gear for Each Method
- For Push-to-Connect:
- Tubing Cutter (Ridgid 10335)
- Deburring/Reaming Tool
- Go/No-Go Gauge (MUST HAVE)
- Disassembly Clips
- For Professional Press:
- Brand-Specific Press Tool (e.g., Milwaukee M12, Viega Pressgun)
- Correct Jaw Sets for fitting size and type (e.g., 1/2″ CTS copper, 3/4″ PEX-A)
- PEX or Copper Cutter
- Pipe Calibration Tool (for PEX systems)
Safety Warning & Best Practices
WARNING: Always shut off the water supply and relieve system pressure before working on any plumbing line. For repairs involving existing valves, assume they may leak and have a main shut-off plan. When testing new lines, increase pressure gradually and inspect every joint.
Universal Best Practice: Regardless of system, pipe preparation is 90% of a reliable joint. A square, clean, de-burred cut is non-negotiable. For press systems, always perform a visual verification that the press indicator rings are fully exposed after crimping.
External Reference
For an authoritative technical overview of mechanical pipe joining standards, refer to the ASTM F1588 Standard Specification for Push-Fit Fittings. This resource provides the foundational material and performance specifications that govern these products.