Tankless Descaling Flush
The Diagnosis: What is a Tankless Descaling Flush?
A Tankless Descaling Flush is a mandatory, non-negotiable maintenance procedure to remove limescale and mineral deposits from the unit’s heat exchanger. This buildup, caused by hard water, insulates the heat exchanger, forcing the unit to work harder, reducing efficiency, increasing energy costs, and leading to overheating, flow issues, and system failure. Neglecting this annual service is the primary cause of premature tankless water heater failure and persistent error codes.
Technical Deep Dive: The Step-by-Step Flush Procedure
This procedure requires a basic recirculating pump setup. Always refer to your specific manufacturer’s manual first, as port locations and valve types vary.
Required Tools & Materials
- Submersible Pump (1/10 HP or greater): e.g., a utility pump from brands like Ridgid.
- Two 5-gallon Buckets
- Descaling Solution: Manufacturer-approved solution (most common) or white distilled vinegar (5% acidity). Never use CLR or other harsh chemicals.
- Hose Kit: Two 5/8″ ID (or size per manual) vinyl hoses with appropriate fittings (often 3/4″ garden hose thread to unit’s service port thread).
- Adjustable Wrenches / Channel Locks
- Screwdrivers (to access service panels)
- Multimeter: A quality tool like a Fluke for verifying power is off.
Safety & Isolation Protocol
SAFETY WARNING: Failure to completely isolate the unit from gas, electricity, and water will result in severe personal injury, electrocution, or property damage.
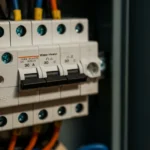
- Power Down: Turn off the unit’s dedicated circuit breaker. Use your multimeter to confirm power is absent at the unit’s terminals.
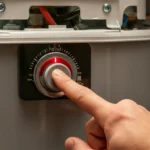
- Gas Supply: Turn the gas shutoff valve to the “OFF” position.
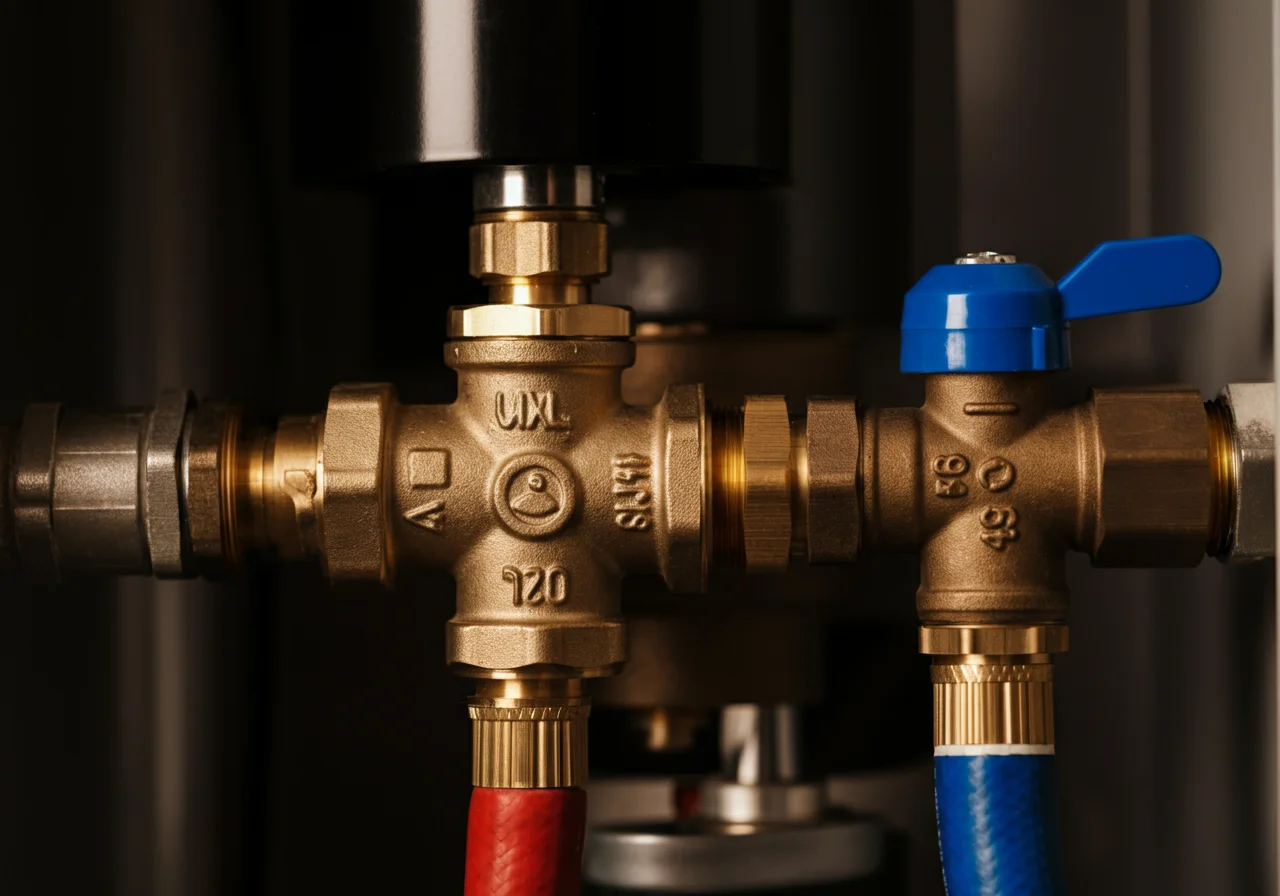
- Water Isolation: Close both the cold water inlet and hot water outlet service valves on the unit. If your unit lacks service valves, you must shut off the main water supply and drain the house lines.
- Relieve Pressure: Open a hot water faucet elsewhere in the house to relieve system pressure.
The Flush Execution
- Connect the Pump Loop:
- Fill one bucket with 3-4 gallons of clean water and the descaling solution (follow product mix ratios).
- Place the submersible pump in this “solution” bucket.
- Connect a hose from the pump’s outlet to the unit’s cold water service port (usually marked with a blue cap).
- Connect a second hose from the unit’s hot water service port (red cap) to the empty “rinse” bucket.
- Open Service Valves & Circulate:
- Open the cold and hot water service port isolation valves (often small brass knobs).
- Plug in and turn on the pump. The solution will circulate from the pump, through the cold side, into the heat exchanger, out the hot side, and into the rinse bucket.
- Monitor and Agitate:
- Let the solution circulate for 45-60 minutes. For a Vinegar Flush, circulation time may need to be extended to 90 minutes for heavy scale.
- Periodically agitate the hoses and gently tap the heat exchanger to dislodge debris.
- Observe the effluent in the rinse bucket. It will become cloudy and may contain visible scale particles.
- Rinse Cycle:
- Turn off the pump. Move the inlet hose from the solution bucket to a new bucket of clean, cold water.
- Run the pump for 10-15 minutes to thoroughly rinse all descaling solution from the heat exchanger and internal lines.
- Reassembly & Restart:
- Turn off the pump. Close both service port isolation valves.
- Disconnect the hoses and re-install the service port caps securely.
- Open the cold and hot water main service valves slowly to re-pressurize the unit. Check all connections for leaks.
- Open a hot water faucet in the house to purge air from the lines.
- Restore gas and electrical power. Follow the manufacturer’s startup sequence.
Code & Compliance
While the flush procedure itself is not directly codified, the installation prerequisites are, and maintenance is implied by code for system longevity and safety.
- IPC/UPC (Water Piping): Code requires accessible, listed shutoff valves on the supply to the heater (IPC 501.2, UPC 606.1). The service valves used for the flush are a direct application of this requirement for serviceability.
- Manufacturer’s Instructions: Most codes, including the International Residential Code (IRC), mandate that appliances be installed and maintained per the manufacturer’s listing and instructions (IRC M1305.1). Since all manufacturers require descaling, neglecting it violates this provision.
- NEC (Electrical Safety): Verifying power disconnect with a multimeter before service aligns with NEC 110.9 and OSHA lockout/tagout principles for assured equipment grounding conductor performance.
Diagnosing Post-Flush Error Codes
If an error code appears after a flush, it indicates incomplete resolution or a new issue triggered during service. Common codes related to scale and flushing:
| Error Code (Common Examples) | Likely Cause Post-Flush | Technical Action |
|---|---|---|
| Overheat (e.g., 11, 03) | 1. Severe scale blockages remain. 2. Flow sensor malfunction due to dislodged debris. 3. Air pocket in heat exchanger. | 1. Perform a second, longer flush with a stronger approved solution. 2. Check flow sensor for debris; clean per manual. 3. Ensure proper purging of air from lines. |
| Ignition Failure (e.g., 10, 12) | 1. Water entered the gas valve or burner assembly during flush (severe error). 2. Connector was disturbed. | 1. STOP. This requires a professional. Unit must be fully inspected for water ingress. 2. Check all electrical connections to the ignition system. |
| Flame Loss / Combustion | Air intake or exhaust vent may have been accidentally blocked during service. | Visually inspect the entire vent pathway for obstructions before and after the flush procedure. |
| Low Flow / No Flow | 1. Inlet filter or water valve left partially closed. 2. Debris lodged in the unit’s internal flow sensor or filter. | 1. Verify all isolation valves are 100% open. 2. Locate and clean the unit’s inlet water filter (see manual). |
Toolbox: Professional-Grade Recommendations
- Pump: A Milwaukee or Ridgid submersible utility pump offers the durability and consistent flow rate needed for effective circulation.
- Electrical Verification: A true-RMS Fluke multimeter is the industry standard for safely confirming the absence of power.
- Hose Kits: Use chemical-resistant vinyl hoses with brass fittings. Pre-made kits are available, but ensure they match your unit’s thread type.
External Reference
For a foundational understanding of the chemistry behind scale formation and acid-based descaling, refer to the technical definition of Limescale on Wikipedia. Always prioritize your specific equipment manufacturer’s maintenance manual for approved chemicals and procedures.