Urinal Partition Code
The Diagnosis: Defining Urinal Partition Code Requirements
Proper urinal partition installation is governed by specific building codes that dictate spacing, clearance, and privacy dimensions. These are not suggestions but enforceable standards designed to ensure user safety, accessibility, and a minimum level of privacy in public and commercial restrooms. Failure to comply can result in failed inspections, liability issues, and non-compliant facilities. The core technical focus is on the precise spatial relationship between the fixture, the partition, and the user.
Technical Deep Dive: Spacing, Clearance, and Installation
Compliance hinges on three interrelated measurements: privacy spacing between urinals, lateral clearance from the partition to adjacent walls or fixtures, and the partition’s own dimensions. Follow this step-by-step guide for a code-compliant installation.
- Step 1: Establish Centerline Spacing. The primary measurement is the distance between the centerlines of adjacent urinals. The International Plumbing Code (IPC) and Uniform Plumbing Code (UPC) are aligned on this requirement.
- Step 2: Install Partitions for Privacy. Partitions must be installed to provide a visual barrier. The partition must extend from a point not more than 12 inches (305 mm) from the front edge of the urinal rim to a point at least 24 inches (610 mm) in front of the urinal rim. The partition height must be a minimum of 60 inches (1524 mm) above the finished floor.
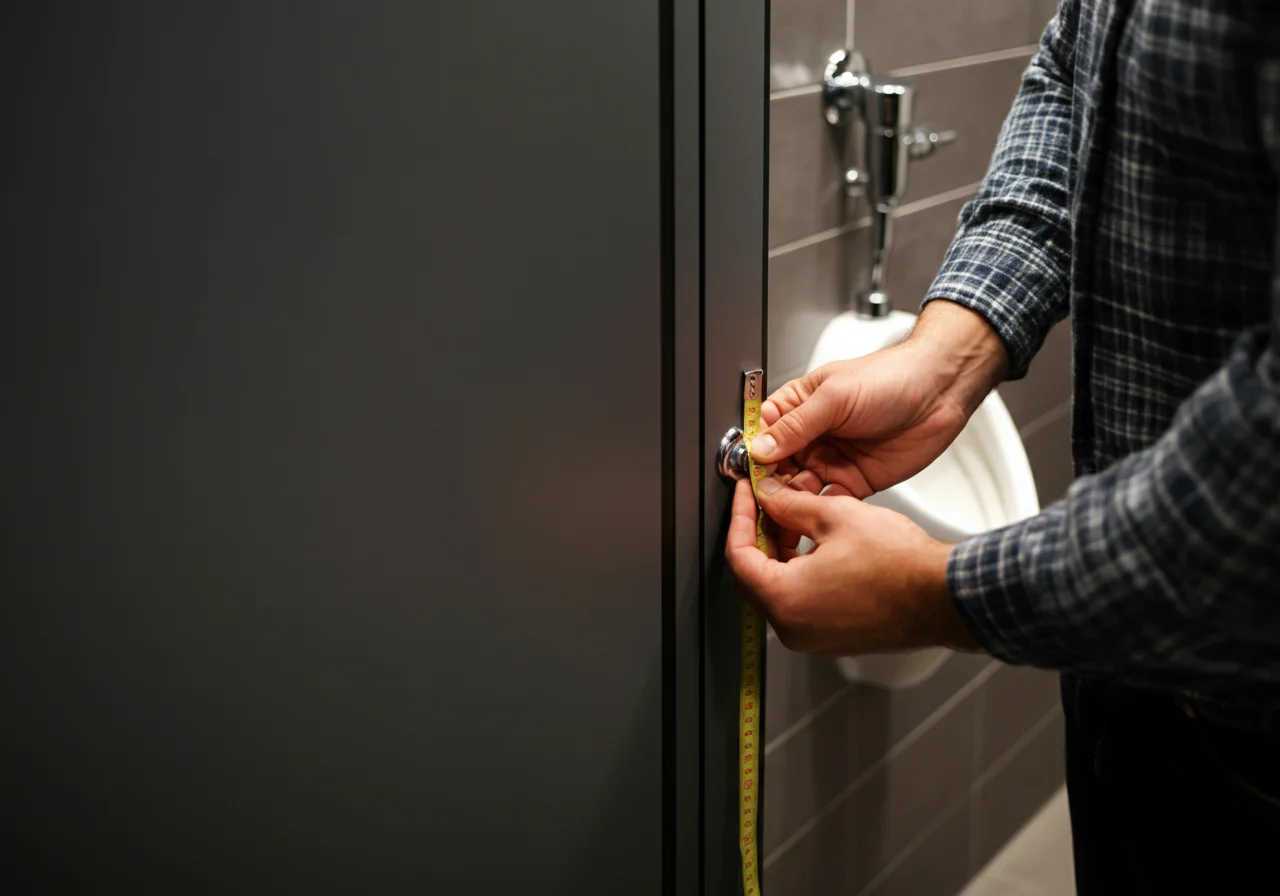
- Step 3: Verify Lateral Clearance. Each urinal must have a clear space in front of it. The required clearance is a minimum of 30 inches (762 mm) in depth, measured from the front edge of the urinal rim. The width of this clear space must be at least 18 inches (457 mm) wide, centered on the urinal.
- Step 4: Account for Accessible Compartments. When an accessible urinal is required, the partition must not intrude into the required clear floor space of 30 inches by 48 inches (762 mm x 1219 mm) minimum. This often requires specific partition configurations or off-set mounting.
| Measurement | IPC / UPC Requirement | Purpose |
|---|---|---|
| Center-to-Center Spacing | 30 inches (762 mm) minimum | Provides basic user privacy and physical space |
| Partition Depth (Front of Rim) | Extend from ≤12″ to ≥24″ from rim | Creates an effective visual screen |
| Partition Height | 60 inches (1524 mm) minimum | Ensures privacy barrier from standing eye level |
| Clear Floor Space (Depth x Width) | 30″ x 18″ (762 mm x 457 mm) minimum | Provides safe user clearance and maneuvering room |
Code & Compliance: The Legal Framework
Adherence to model codes is non-negotiable for passing inspection. The two predominant codes in the United States are the International Plumbing Code (IPC) and the Uniform Plumbing Code (UPC). While largely similar on this topic, the enforcing jurisdiction dictates which code applies.
- IPC Section 419.3 & 405.3.1: Governs urinal spacing and privacy screens. It mandates the 30-inch centerline spacing and the partition dimensions detailed above.
- UPC Section 419.3 & 408.3: Mirrors the IPC requirements for spacing and partitions, ensuring consistency across most jurisdictions.
- ICC A117.1 / ADA Standards: For accessible design, these standards govern clear floor space, knee and toe clearance under partitions, and the placement of grab bars, which can affect partition mounting.
- OSHA Considerations: While not directly regulating partitions, OSHA (29 CFR 1910.141) requires that toilet facilities be maintained in a sanitary and functional state. Improperly spaced or installed partitions that create trip hazards or maintenance issues could be cited under general duty clauses.
Toolbox: Installation Essentials
Precise layout and secure mounting are critical. Using professional-grade tools ensures accuracy and durability.
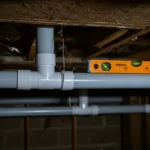
- Layout & Measurement: A high-quality laser level (Milwaukee or similar) is indispensable for establishing plumb and level lines for partition mounts. A 25-foot tape measure is essential for verifying all centerline and clearance dimensions from the approved plans.
- Installation: A heavy-duty cordless drill/driver (Ridgid or equivalent) is required for drilling into concrete or steel. For floor-mounted partitions, a rotary hammer drill is often necessary for anchor installation. Always use the mounting hardware specified by the partition manufacturer.
Safety Warning & Best Practices
SAFETY WARNING: Prior to any installation near plumbing, confirm the water supply to the urinals is shut off at the fixture stop or main line. If drilling into walls or floors for mounting, use a stud finder and cable/pipe detector to avoid striking electrical, plumbing, or gas lines. Wear appropriate PPE including safety glasses and gloves during installation.
Best practices go beyond minimum code:
- Always reference the manufacturer’s installation instructions for specific hardware and spacing requirements, which may exceed code minimums.
- For high-traffic areas, specify partitions with robust materials (e.g., phenolic core, stainless steel) and continuous hardware for vandal resistance.
- Coordinate with the plumbing rough-in team to ensure waste and supply lines do not conflict with planned partition anchor points.
External References
For definitive code language and accessible design standards, always consult the primary source documents. A key reference is the official summary of the ADA Standards, which integrates with plumbing code requirements for partitions.
- U.S. Department of Justice – 2010 ADA Standards for Accessible Design (See Section 604 on plumbing fixtures and clearances).