Van Shelving Setup
The Diagnosis: A Disorganized Van is a Profit Killer
A professional Van Shelving Setup is not about storage; it’s a mobile command center for your plumbing and HVAC business. An inefficient layout leads to lost time searching for parts, unnecessary restocking trips, and preventable vehicle damage, directly impacting your bottom line and professional reputation. This guide provides a technical framework for transforming your van into a model of efficiency, integrating physical organization with systematic inventory management.
Technical Deep Dive: Building Your Mobile Workshop
The goal is to create a predictable, repeatable system where every tool and part has a dedicated, secure home. Follow this step-by-step process.
Phase 1: Audit and Strategic Planning
- Conduct a Full Inventory Audit: Remove everything from your van. Categorize items into: Daily-Use Tools, Common Parts (fittings, valves, connectors), Bulk Materials (pipe, duct), and Specialty/Job-Specific Items.
- Map Your Van’s Anatomy: Measure the interior cargo space precisely. Note wheel well locations, door clearances, and existing anchor points. Create a simple diagram.
- Apply the Frequency-of-Use Principle: The most frequently accessed items (tool pouch, common fittings) must be in the prime “golden zone”—within arm’s reach of the side or rear doors.
Phase 2: Shelving Selection and Installation
- Choose the Right System: Opt for welded steel or heavy-duty aluminum shelving from professional brands like Milwaukee Packout or Ridgid Pro. Modular systems offer future flexibility.
- Secure Mounting is Non-Negotiable: Use the manufacturer’s provided brackets and hardware. Bolts must penetrate into the van’s structural ribs or use well-nuts in sheet metal. A shelving unit becoming a projectile in a collision is a severe safety hazard.
- Optimize Layout: Place taller shelving units along one side, leaving a central aisle. Use shallow shelves for small parts bins and deeper shelves for bulky items. Consider overhead racks for lightweight, long materials like PVC pipe.
Phase 3: Compartmentalization and Security
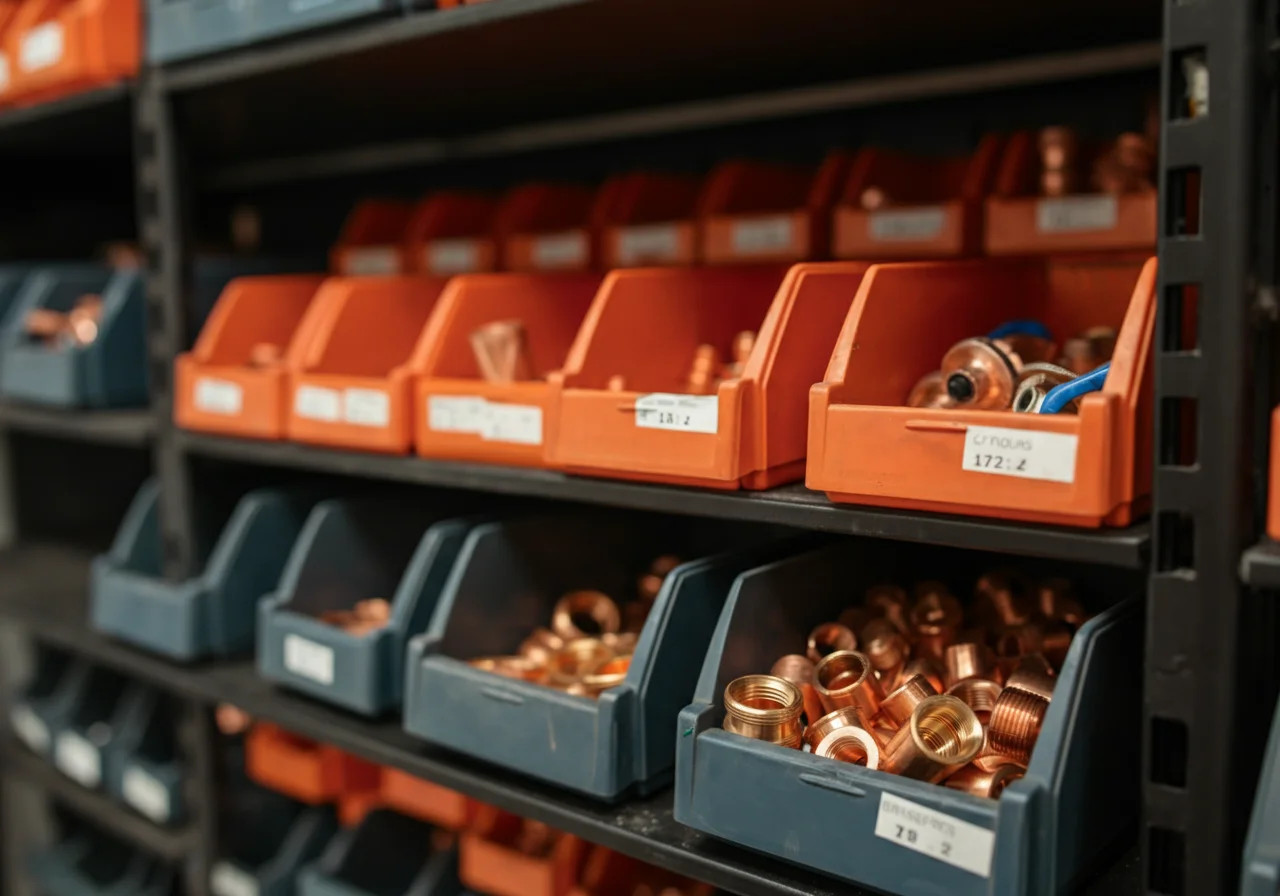
- Implement Bin and Tray Systems: Use clear, latching bins for small parts. Organize fittings by type and size (e.g., 1/2″ copper elbows, 3/4″ PEX rings). Label every bin clearly with a label maker.
- Secure Heavy Tools: Use mounted tool holders, shadow foam cutouts, or van-specific racks for pipe wrenches, threading machines, and drain cleaners. This prevents damage to tools and van interior during transit.
- Create Dedicated Zones: Designate specific areas for: Electrical/Diagnostic Tools, Soldering & Joining, Drain Cleaning, and Safety Equipment. This mental map drastically reduces search time.
Code & Compliance: Safety as a System
While no plumbing code governs van organization, general safety and transportation regulations are critical.
- OSHA 1910.178(m)(10) – Securing Loads: “Only stable or safely arranged loads shall be handled.” This workplace regulation underscores the legal necessity of securing all cargo.
- DOT Regulations: An unsecured load violates Department of Transportation safety standards and can lead to citations. A flying tool box in a sudden stop is a danger to the driver.
- Local Fire Codes: Store fuel-powered equipment (e.g., torches) in well-ventilated, dedicated compartments away from ignition sources, following manufacturer guidelines and local fire codes for vehicle storage.
Advanced Inventory Management: From Chaos to Control
Physical organization enables effective stock control. Moving from a reactive “guess and check” system to a proactive one is the hallmark of a senior technician.
Implement a Two-Bin Kanban System for Common Parts
- For high-turnover items (couplings, unions, hangers), use two bins. When the first bin is empty, that is your signal to reorder. Refill from the second bin. This visual system prevents running out of critical parts.
Conduct Scheduled Cycle Counts
- Do not wait for a full inventory meltdown. Dedicate 30 minutes weekly to audit one section of your van (e.g., “all copper fittings”). Compare physical count against your minimum stock levels and restock immediately.
Leverage Digital Tools
- Use a simple spreadsheet or a mobile inventory app to maintain a master stock list. Include part number, description, bin location, minimum quantity, and supplier. Update it in real-time when you use the last of an item.
| Zone | Recommended Contents | Inventory Check Frequency |
|---|---|---|
| Prime (Golden Zone) | Tool Bag, Common Fittings, Soldering Kit, Multimeter | Daily |
| Secondary (Mid-Van) | Power Tools, Drain Machines, Replacement Parts Kits | Weekly |
| Bulk Storage (Rear/Front) | Pipe Sticks, Water Heaters, Ducting, Job-Specific Materials | Per Job |
Toolbox: Essential Gear for Setup
- Measurement & Layout: Laser distance measure, tape measure, chalk line.
- Installation: High-torque cordless drill/driver (Milwaukee M18 FUEL series as an example), socket set, torque wrench for proper bolt tightening.
- Organization: Heavy-duty shelving units, clear latching bins, industrial label maker, shadow foam for tool customization.
⚠️ SAFETY WARNING
Before any installation: Disconnect the vehicle battery to avoid short circuits. Park on a level surface and engage the parking brake. Use appropriate PPE—safety glasses and gloves—when drilling or handling metal shelving. Always ensure the van’s gross vehicle weight rating (GVWR) is not exceeded by your tools and materials. Distribute weight evenly to maintain safe vehicle handling.
External Reference
For foundational principles on workplace organization that directly apply to van setup, review the OSHA standard 1910.176 on handling materials—general. This covers secure storage, clear aisles, and safe handling, which are the core tenets of a professional van build.