Water Heater Dip Tube Test
The Diagnosis: Short Hot Water and a Suspect Dip Tube
A sudden, significant reduction in available hot water from your tank-style water heater, often accompanied by a “cold water sandwich” effect, is a classic symptom of a failed water heater dip tube. This critical component is a plastic pipe inside the tank that directs incoming cold water to the bottom. When it disintegrates, cold water mixes at the top near the hot water outlet, drastically reducing efficiency and hot water duration. This guide provides a definitive, step-by-step method to diagnose this failure.
Technical Deep Dive: Step-by-Step Dip Tube Diagnosis
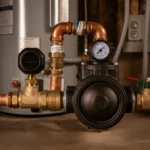
Confirming a failed dip tube requires a systematic approach. This procedure is for standard residential electric or gas tank water heaters. SAFETY WARNING: Before any work, shut off the power to an electric water heater at the circuit breaker or shut off the gas supply to a gas unit. Turn off the cold water supply valve to the heater. Relieve pressure by opening a hot water faucet in the house.
Step 1: Initial Symptom Verification
- Symptom Check: Time how long you get steady hot water from a faucet with the heater fully recovered. A drastic drop (e.g., from 45 minutes to 10) is a key indicator.
- “Cold Water Sandwich” Test: Run hot water until it’s fully hot, then shut it off for 30-60 seconds. Re-open the hot water faucet. If you get an initial blast of cold or lukewarm water before it gets hot again, this is a strong sign of a compromised dip tube allowing cold water to stratify at the top of the tank.
Step 2: Isolate and Inspect the Dip Tube
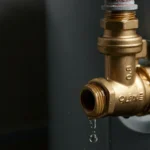
The dip tube is attached to the cold water inlet nipple, located on the top of the tank. You will need to disconnect the cold water supply line.
- Drain 2-3 gallons of water from the tank via the drain valve to lower the water level below the inlet connections.
- Using two wrenches (e.g., Ridgid aluminum pipe wrenches)—one to hold the nipple, one to turn the fitting—disconnect the cold water flex line or pipe from the inlet.
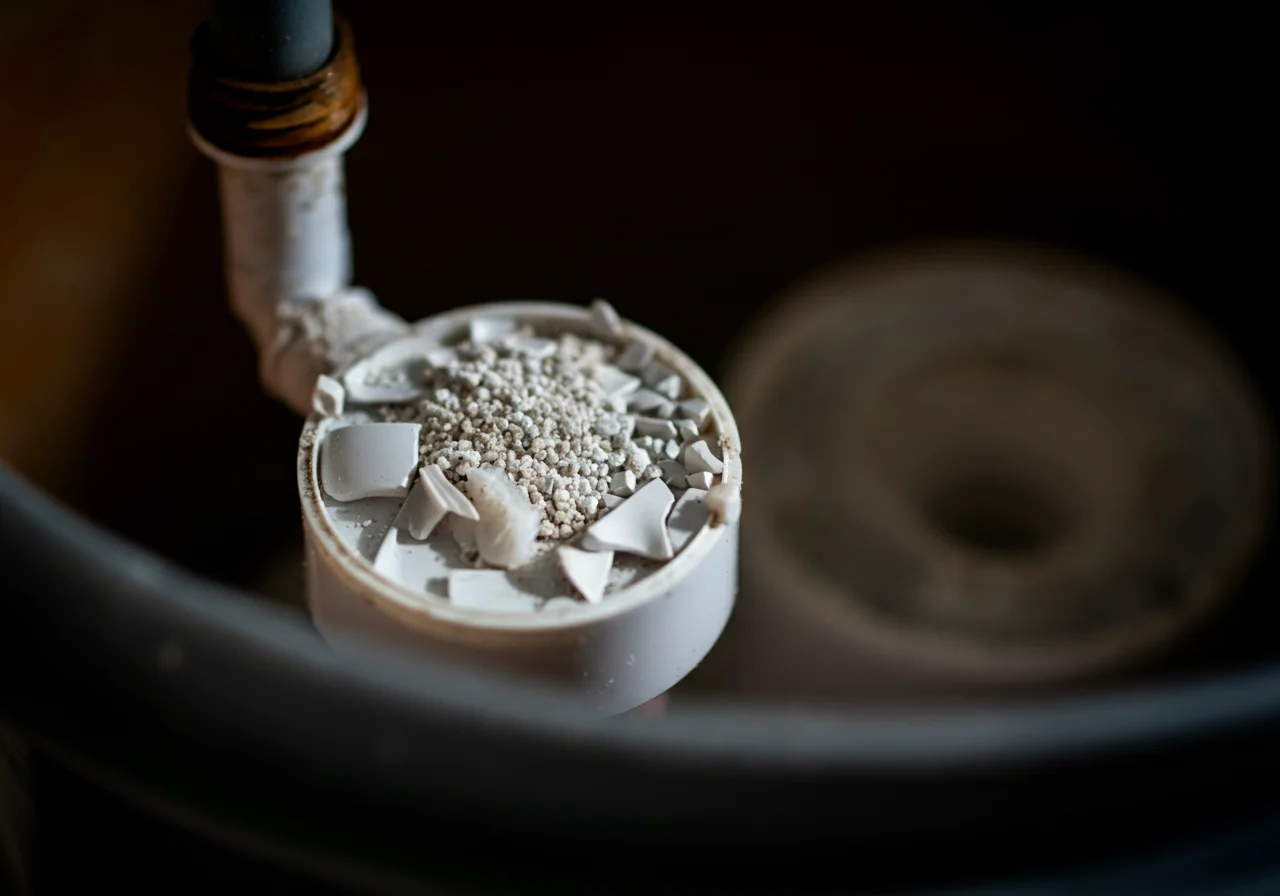
- Inspect the inlet nipple. You may see white plastic debris (from a polypropylene dip tube) clogging the nipple or stuck in the fitting.
Step 3: The Direct Physical Test
This is the conclusive test. You will need a tool to probe the dip tube.
- Straighten a wire coat hanger or use a long, flexible retrieval tool.
- Insert the tool down the cold water inlet nipple. An intact dip tube will allow the tool to travel the full length of the tank (36-60 inches) until it gently hits the bottom.
- Diagnosis: If the tool stops only 6-12 inches down, the dip tube has disintegrated, leaving only a short stub. This is a confirmed failure.
Step 4: Assessing Sediment Buildup
A failed dip tube often exacerbates and is exacerbated by sediment. With the water supply off and drained, briefly open the drain valve fully into a bucket. If you get a rush of sandy, granular material, significant sediment buildup is present. This sediment can insulate the burner or elements from the water and provide a medium for dip tube debris to collect, compounding the performance issue.
| Symptom | Likely Cause | Diagnostic Test |
|---|---|---|
| Very short hot water duration | Disintegrated Dip Tube | Physical probe test; debris in nipple |
| Cold/Lukewarm water at start of draw | “Cold Water Sandwich” from failed tube | Stop/Start faucet test |
| Reduced efficiency & rumbling sounds | Sediment Buildup (often with tube failure) | Drain valve sediment flush |
Code & Compliance: System Integrity
While the dip tube itself is not directly code-prescribed, its function is critical to the system’s operation as intended by code. International Plumbing Code (IPC) Section 607.2 requires water heaters to be installed with provisions for drainage and to be accessible for service and replacement. A failed dip tube constitutes a failure of the appliance to operate per its listing. Furthermore, the resulting temperature fluctuations can pose a scalding risk, which ties into code requirements for tempering valves (IPC 607.3). Always ensure any replacement tube or nipple is rated for potable water and temperature.
Toolbox: Essential Tools for Diagnosis & Repair
- Channel-Lock or Pipe Wrenches: For disconnecting supply lines. A quality brand like Ridgid provides the leverage and jaw integrity needed.
- Multimeter (for electric heaters): A Fluke multimeter is essential for verifying power is off before touching electrical connections.
- Drain Hose & Buckets: For safe water and sediment management.
- Flexible Retrieval Tool/Stiff Wire: For the definitive dip tube probe test.
- Replacement Dip Tube/Nipple Assembly: Ensure it matches the diameter and length of the original.
External Reference & Further Reading
For a detailed technical overview of water heater components and their function, including the role of the dip tube, consult the U.S. Department of Energy’s resource on water heater efficiency. This provides context for how a failed component impacts overall system energy use.
U.S. Department of Energy – Water Heating Guide
Conclusion and Next Steps
A confirmed dip tube failure requires replacement. This typically involves removing the old dip tube stub from the cold water inlet nipple—sometimes requiring nipple replacement if it is corroded or the tube is fused. After replacement, flush the tank thoroughly to remove all plastic debris and sediment before restoring power and water. This repair restores the thermal stratification within the tank, eliminating the cold water sandwich and returning your hot water duration to its designed capacity. Failure to address this will lead to continued poor performance and unnecessary strain on the heating elements or burner.